
Hyper-Vは「Windows 10 Enterprise、Pro、または Education」のエディションでは、コントロールパネルのプログラム機能から有効にすることができますが、Windows10 Homeでは使用することができません。一般的には、「VMware Workstation Player」や「VirtualBox」を使用しますが、本記事の手順で有効にすることができます。
Hyper-Vを利用するためには、事前にBIOS上での仮想化支援機能の有効化しておく必要があります。
intel系
Advanced > CPU Configuration > Execute Disable Bit > [Enabled]
Advanced > CPU Configuration > Intel(R) VirtualizationTechnology > [Enabled]
AMD系
Advanced > CPU Configuration > SVM > [Enabled]
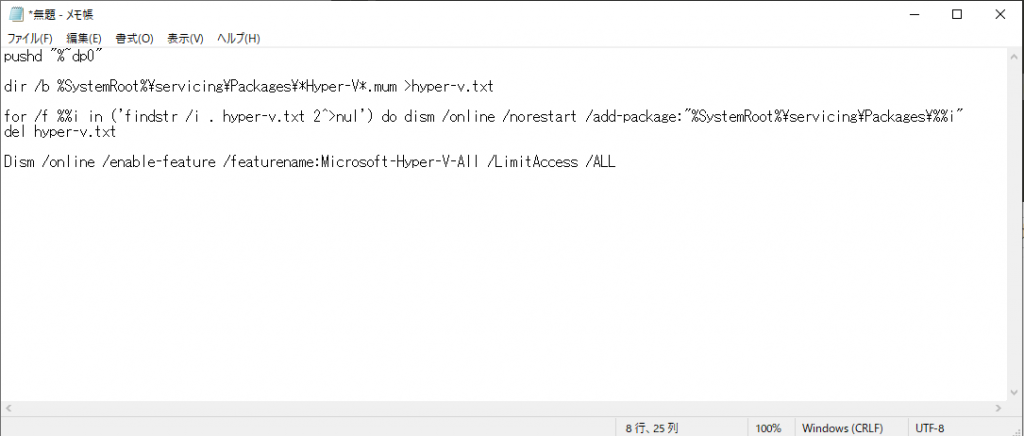
以下のテキストをメモ帳に貼り付けます
pushd "%~dp0"

dir /b %SystemRoot%\servicing\Packages\*Hyper-V*.mum >hyper-v.txt

for /f %%i in ('findstr /i . hyper-v.txt 2^>nul') do dism /online /norestart /add-package:"%SystemRoot%\servicing\Packages\%%i"
del hyper-v.txt

Dism /online /enable-feature /featurename:Microsoft-Hyper-V-All /LimitAccess /ALL
メモ帳をクリック
メモ帳に貼り付けます
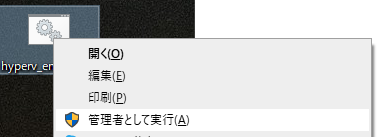
拡張子は.batとして任意のファイル名で保存します。(ここでは、hyperv_enable.batというファイル名にします)

バッチを右クリックして「管理者として実行」を押下します。
インストールが始まります。
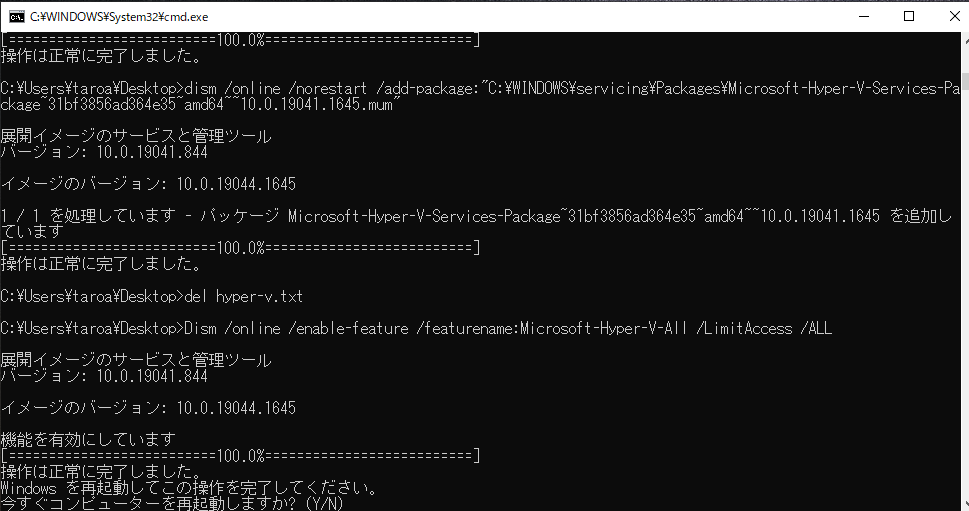
Yを入力してEnterボタンを押下してWindowsを再起動します。
再起動後使用できるようになっています。
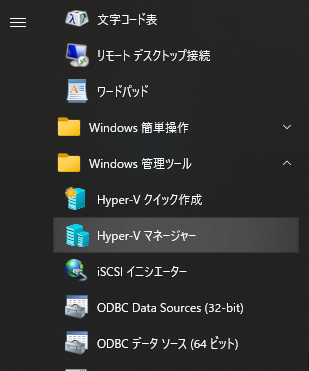
Hyper-Vマネージャーは、「ファイル名を指定して実行」から、以下のコマンドで表示できる。
virtmgmt.msc

コメント