
CentOSバージョン確認
[centos@i-vhost ~]$ cat /etc/redhat-release
CentOS Linux release 7.9.2009 (Core)
CentOS 7.9にインストールする
動作要件
| バージョン | ||
|---|---|---|
| PHP | 7.4以上 | |
| DB | MySQL | 5.7 |
| MariaDB | 10.2以上 | |
| Webサーバー | Apache or Nginx |
Mysql設定
WordPress用のDBとユーザーを作成する
| 例 | コメント | ||
|---|---|---|---|
| DB名 | wp_サイト名_db | wp_enjyoi_db | 1つのサーバーで複数のブログを運営する場合は、 wpdbだと重複するのでサイト名を設定しておく。 |
| ユーザー名 | wpuser | ||
| パスワード | ***** | 推測困難なパスワードポリシーにする。 |
ユーザーの設定と権限設定
mysqlへデータベースの作成とアクセスユーザー及び権限を設定します。
[centos@i-vhost src]$ mysql -u root -p #mysqlクライアントにログイン
mysql> CREATE DATABASE wp_enjyoi_db CHARACTER SET utf8;   #wordpress用のデータベース作成
mysql>  GRANT ALL PRIVILEGES ON wp_enjyoi_db.* TO "wpuser"@"localhost" IDENTIFIED BY "任意";
#↑DBに権限を与えます
mysql> FLUSH PRIVILEGES; #即座にDBに権限を反映させます。
[centos@i-vhost src]$ mysql -u root -p
Enter password:
 Welcome to the MySQL monitor.  Commands end with ; or \g.
 Your MySQL connection id is 14233745
 Server version: 5.7.33 MySQL Community Server (GPL)

 Copyright (c) 2000, 2021, Oracle and/or its affiliates.

 Oracle is a registered trademark of Oracle Corporation and/or its
 affiliates. Other names may be trademarks of their respective
 owners.

 Type 'help;' or '\h' for help. Type '\c' to clear the current input statement.

 mysql> CREATE DATABASE wp_enjyoi_db CHARACTER SET utf8;
 Query OK, 1 row affected (0.00 sec)

 mysql>  GRANT ALL PRIVILEGES ON wp_enjyoi_db.* TO "wpuser"@"localhost" IDENTIFIED BY "任意";
 Query OK, 0 rows affected, 1 warning (0.02 sec)

 mysql> FLUSH PRIVILEGES;
 Query OK, 0 rows affected (0.01 sec)

 mysql> exit
[centos@i-vhost src]$
Apache設定
WordPress用のApache仮想サイトを設定する
conf.dのファイル作成
ドメインはwww.enjyoi.com(仮)にします。以下のディレクトリにenjoy.confを作成します。
[centos@i-vhost conf.d]# pwd
/etc/httpd/conf.d
https版の記載内容
<VirtualHost *:443>

 DocumentRoot /var/www/html/enjoy
 ServerName www.enjoy.com:443
 ErrorLog logs/ssl_error_log
 LogFormat "%{%Y-%m-%d %H:%M:%S}t [%D] %h:%P %u \"%r\" %>s \"%{Referer}i\" \"%{User-Agent}i\""
 TransferLog logs/ssl_access_log
 LogLevel warn
 SSLEngine on
 SSLProtocol All -SSLv2 -SSLv3 -TLSv1
 SSLCipherSuite HIGH:MEDIUM:!aNULL:!MD5:!SEED:!IDEA
 SSLCertificateFile /etc/pki/tls/certs/enjoy.crt
 SSLCertificateKeyFile /etc/pki/tls/private/private_enjoy.key
 SSLCertificateChainFile /etc/pki/tls/certs/enjyoi.crt
 SSLCACertificateFile /etc/pki/tls/certs/inca.pem

<Directory "/var/www/html/enjoy">
        AllowOverRide All #.htaccessによるディレクティブの上書きを許可
        Order Deny,Allow
        Allow from All
        DirectoryIndex index.php index.html index.htm
</Directory>

 <Files ~ "\.(cgi|shtml|phtml|php3?)$">
    SSLOptions +StdEnvVars
 </Files>

 BrowserMatch "MSIE [2-5]" \
         nokeepalive ssl-unclean-shutdown \
         downgrade-1.0 force-response-1.0
 CustomLog logs/ssl_request_log \
          "%t %h %{SSL_PROTOCOL}x %{SSL_CIPHER}x \"%r\" %b"
</VirtualHost>
http版の記載内容
http版のenjyoi.confの内容
2022/02/28時点:googleのサーチエンジンに対策のため、現在はサイトごとSSL対応することが多いかと思う。httpの設定は不要になりつつあるが、証明書発行の時に使用したりすることもあるので、設定だけは書いておいて、#でコメント化しておけばよいと思う。
<VirtualHost *:80>
 ServerName www.enjyoi.com:80
 DocumentRoot /var/www/html/enjoy
 <Directory "/var/www/html/enjoy">
        AllowOverRide All #.htaccessによるディレクティブの上書きを許可
        Order Deny,Allow
        Allow from All
        DirectoryIndex index.php index.html index.htm
</Directory>
</VirtualHost>
WordPressのインストール
2022/02/25時点では、WordPres 5.9.1
WordPressの最新アーカイブをダウンロード
Homeディレクトリに作業用のsrcディレクトリを作成します。
[centos@i-vhost ~]$ pwd
/home/centos
[centos@i-vhost ~]$ mkdir src
WordPressをインストールするディレクトリに移動しwgetでWordPressをダウンロードします。
wget https://ja.wordpress.org/latest-ja.tar.gz[centos@i-vhost src]$ wget https://ja.wordpress.org/latest-ja.tar.gz
--2022-02-24 12:39:30-- https://ja.wordpress.org/latest-ja.tar.gz
Resolving ja.wordpress.org (ja.wordpress.org)... 198.143.164.252
Connecting to ja.wordpress.org (ja.wordpress.org)|198.143.164.252|:443... connected.
HTTP request sent, awaiting response... 200 OK
Length: 19518351 (19M) [application/octet-stream]
Saving to: ‘latest-ja.tar.gz’
100%[=======================================================================================================================================>] 19,518,351 665KB/s in 23s
2022-02-24 12:39:55 (811 KB/s) - ‘latest-ja.tar.gz’ saved [19518351/19518351]
[centos@i-vhost src]$ ls
latest-ja.tar.gz
[centos@i-vhost src]$
latest-ja.tar.gzを解凍します。
[centos@i-vhost src]$ tar xvf latest-ja.tar.gz
・
・
・
wordpress/wp-includes/class-wp-date-query.php
wordpress/wp-includes/class-walker-comment.php
wordpress/wp-includes/nav-menu.php
wordpress/wp-includes/class-wp-paused-extensions-storage.php
wordpress/wp-includes/class.wp-dependencies.php
wordpress/wp-signup.php
wordpress/wp-links-opml.php
[centos@i-vhost src]$
[centos@i-vhost src]$ ls -la
total 19068
drwxrwxr-x  3 centos centos       47 Feb 24 12:43 .
drwx------. 7 centos centos      204 Feb 24 12:36 ..
-rw-rw-r--  1 centos centos 19518351 Feb 22 16:05 latest-ja.tar.gz
drwxr-xr-x  5 centos centos     4096 Feb 22 16:04 wordpress
[centos@i-vhost src]$
解凍されるとwordpressというフォルダが作成されます。
/var/www/html/指定のディレクトリにmv(移動)
cpコマンドでコピーしても問題ないが、今回はmvでディレクトリごと移動させる。また、ディレクトリの所有者とグループ名をapacheに変更する必要がある。
www.enjyoi.comトップをworkpressにする場合は、「/var/www/html/」にmvで移動させる。www.enjyoi.com/blog/などサブディレクトリに配置する場合は、「/var/www/html/enjoy」にmvで移動させる。
ブログをトップドメインにするのかサブディレクトリで運用するかは、この段階で決めておく必要がある。
[centos@i-vhost src]#  sudo mv wordpress/ /var/www/html/enjoy #wordpressディレクトリを移動
[centos@i-vhost src]#  sudo chown -R apache:apache /var/www/html/enjoy
[centos@i-vhost src]# ls -la /var/www/html
total 4
drwxr-xr-x. 3 root   root     21 Feb 25 02:08 .
drwxr-xr-x. 4 root   root     33 Feb 22  2021 ..
drwxr-xr-x  5 apache apache 4096 Feb 22 16:04 enjoy
[centos@i-vhost src]#
[centos@i-vhost src]# sudo chown -R apache:apache /var/www/html/enjoy
ディレクトリに所有者とグループを設定する場合は、apacheやnginx等のWebサーバーのプロセスを実行しているユーザーやグループを指定します。
wordpressインストール
ブラウザのアドレスに次のURLをセットします。「https://[サイトドメイン]/wp-admin/install.php」
PHPエラーが発生した場合は、PHPがインストールされていないことが多いので以下のページを参考にPHPをインストールする必要がある。

サーバーの設定に問題がなければ以下の画面が表示される。
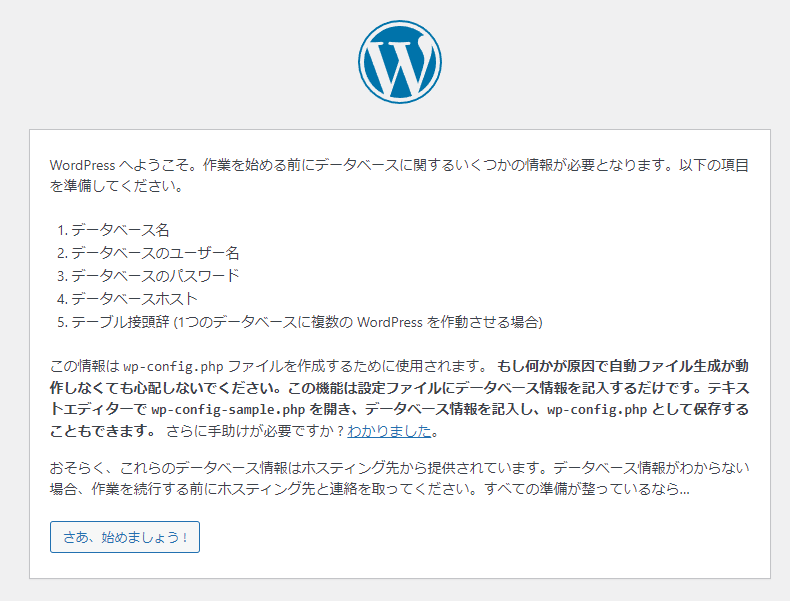
WordPressへようこそが表示されなかった場合の対策

データベース情報の登録
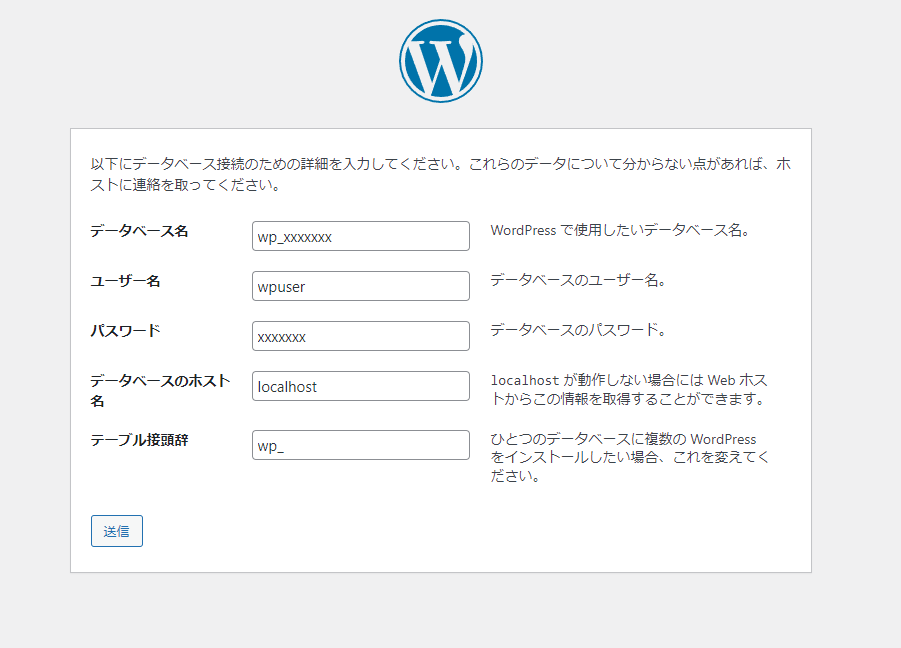
mysqlに事前に登録したデータベース名、ユーザー名、パスワードを入力して送信ボタンを押下します。データベースのホストについては、別のサーバーにデータベースがある場合は、そのIPアドレスを入力します。ただし、wordpressと同じサーバーで動作させている場合は、デフォルトのままでOKです。
送信後にmysqlへの接続エラーが出る場合は、mysqlの設定を確認しましょう。多くの事例としてはユーザー登録やデータベースへの権限の設定ミスが考えられます。
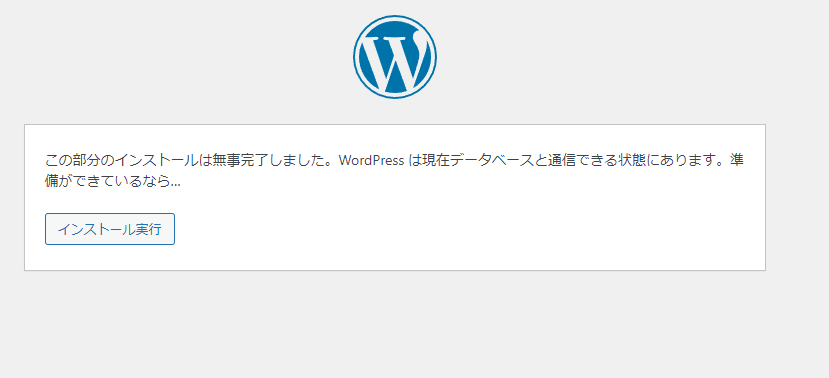
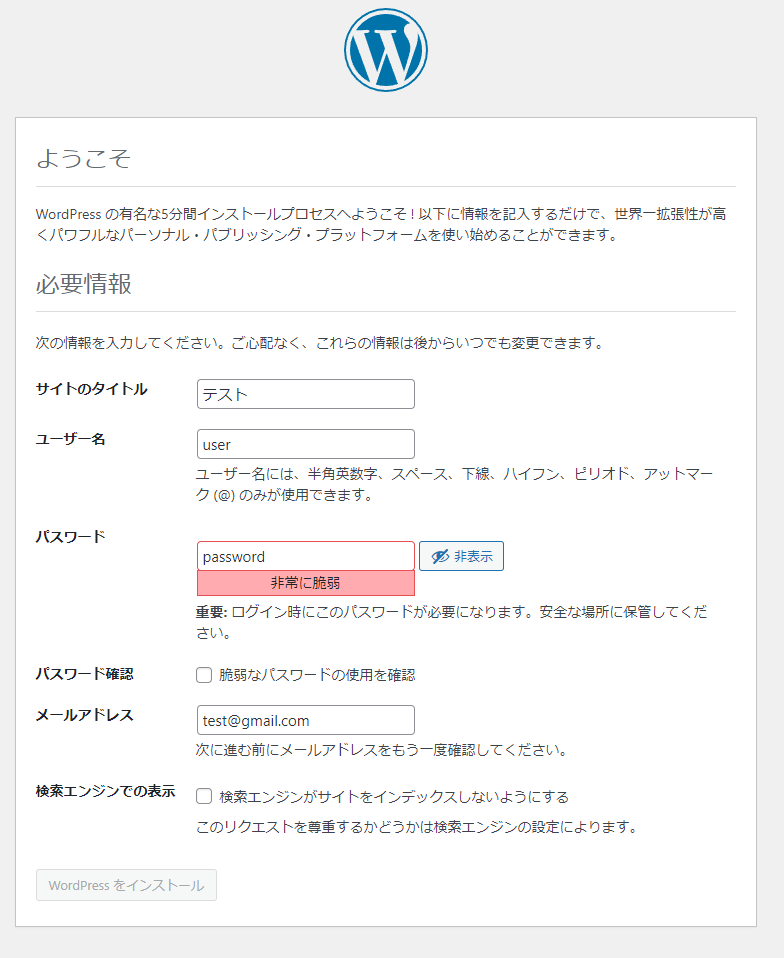
上記に必要な情報を入力して、「WordPressをインストール」ボタンを押下する。
インストールに成功すればログイン画面が表示される。
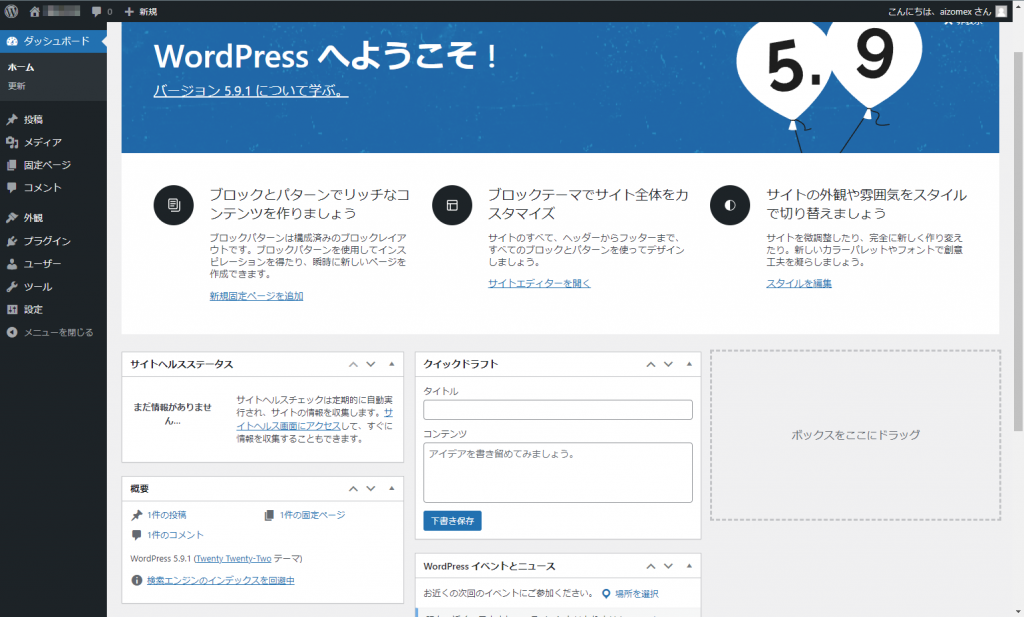
WordPressへようこそ
下記の画面が表示されれば無事WordPressが使用できるようになりました。
-bash: wget: コマンドが見つかりません
wgetがインストールされていないVPSサーバーなどがありますので、その場合は、yum installコマンドでインストールします。
[centos@i-vhost src]# yum install -y wget

コメント