Communityについて
Visual Basicの学習にあたっては無償で入手できる「Community」を利用しましょう。もし、有料版を使用したい場合は、90日間の無償評価版がダウンロードできます。Community版はProfessional版とほぼ同じ機能を持ち、組織で使用する場合は、以下の制約がありますが、個人の開発は自由に使用できます。
※有償アプリケーションの開発もできます。
・トレーニング/教育/学術研究を目的とした場合には人数の制限なく使用できる
・オープンソースプロジェクトの開発では人数の制限なく使える
・エンタープライズな組織(250台以上のPCを所有もしくは250人を超えるユーザーがいる)もしくは「年間収益が100万米ドルを超える」組織とその関係会社では使えない
上記条件を満たす場合は除く
・非エンタープライズな組織では同時に最大5人のユーザーが使える
Visual Studio 2022のシステム要件
オペレーションシステム
Visual Studio 2022では、次の64ビットオペレーションシステムがサポートされています。
- Windows11
- Windoes10 バージョン 1909 以上:Home、Professional、Education、Enterprise
- Windows Server 2022:Standard 及び Datacenter
- Windows Server 2019:Standard 及び Datacenter
- Windows Server 2016:Standard 及び Datacenter
ハードウェア
| プロセッサ | 1.8GHz以上の64ビットプロセッサ。クアッドコア以上を推奨。ARMプロセッサはサポートされていません |
| メモリ | 4GBのRAM |
| ストレージ | 最小850MB、最大210GBの空き領域(インストールされる機能により異なる。一般的なインストールでは、20から50GBの空き領域が必要) |
| ビデオカード | 720p(720×1280)以上のディスプレイ解像度をサポートするビデオカード。Visual StudioはWXGA(768×1366)以上の解像度で快適に動作します。 |
Visual Studio Community 2022ダウンロード
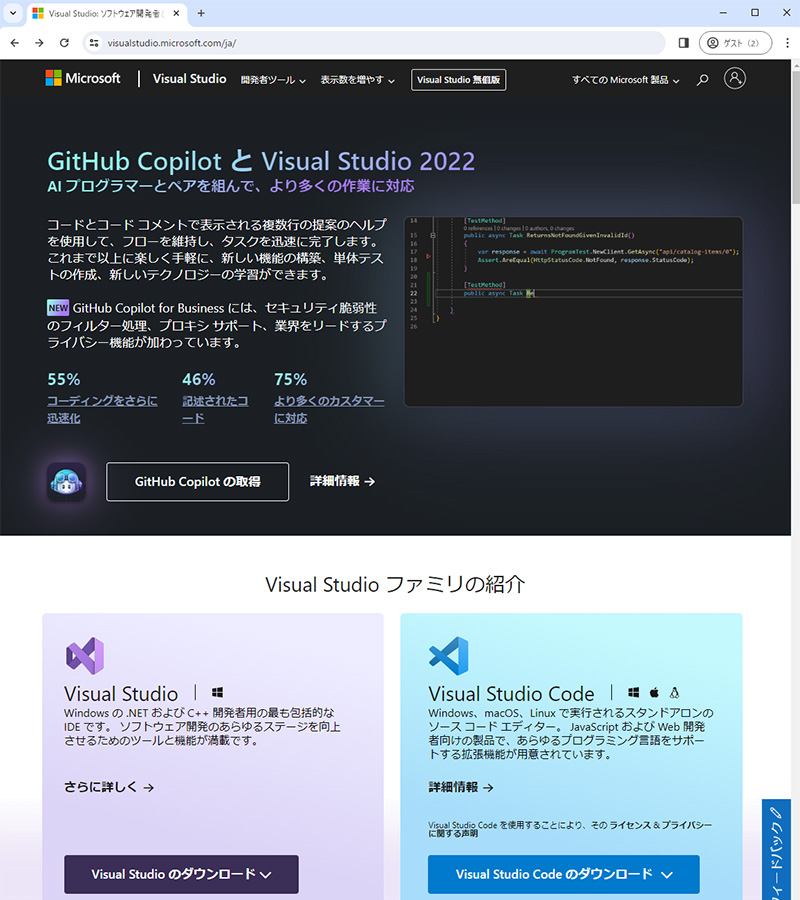
Visual Studio Community 2022ダウンロードサイトにアクセスします。
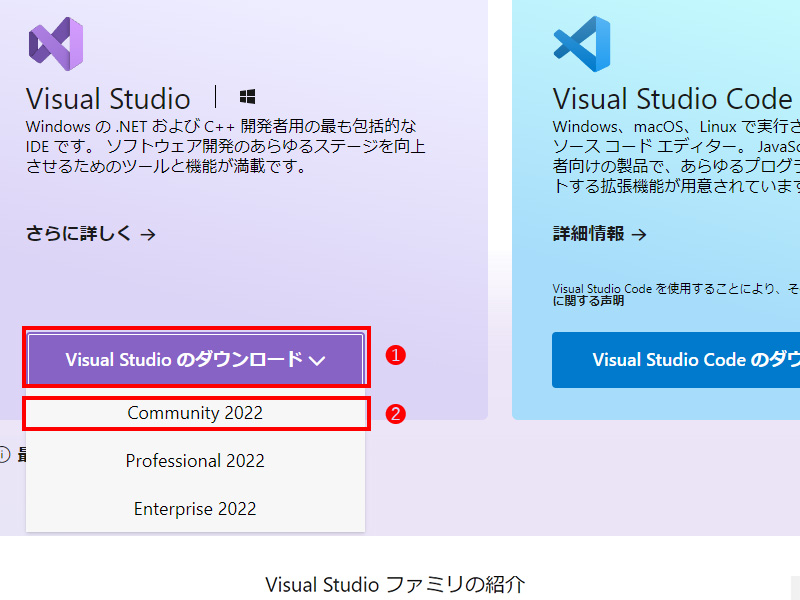
Visual Studioのダウンロードリンク(❶)をクリックします。プルダウン内からCommunity2022をクリックします。(❷)
インストール
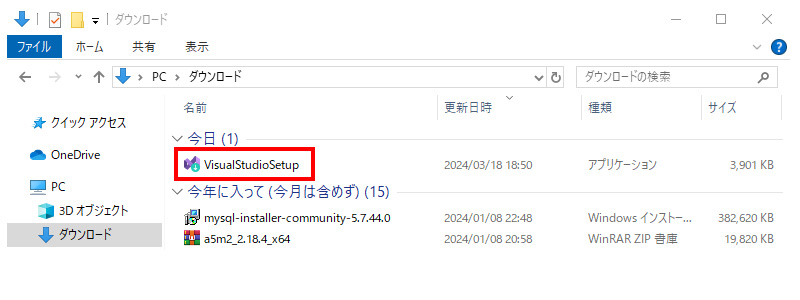
セットアッププログラムを実行する(VisualStudioSetup.exe)
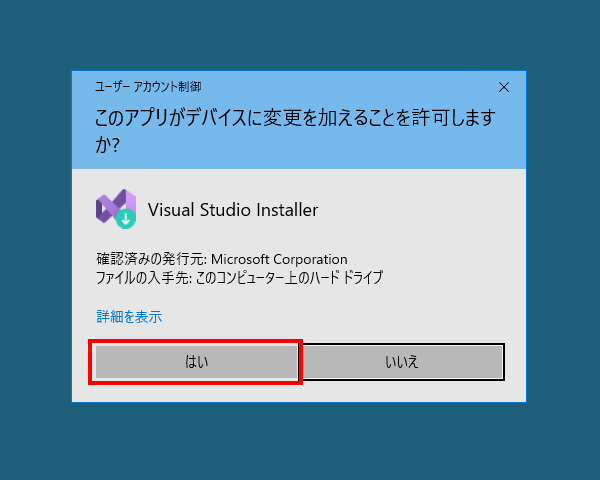
「ユーザーアカウント制御」ダイアログボックスが表示されます。(このアプリがデバイスに変更を加えることを許可しますか?)
はいをクリックします。
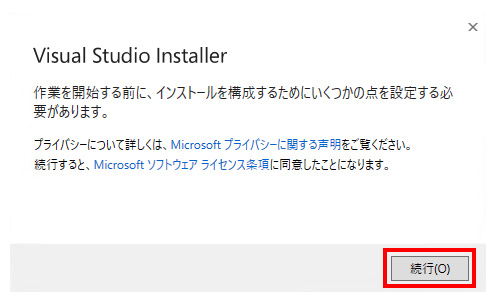
続いて確認のためのメッセージが表示されます。「Visual Studio Installer」は続行ボタンをクリックします。※ライセンス条項に同意することになります。
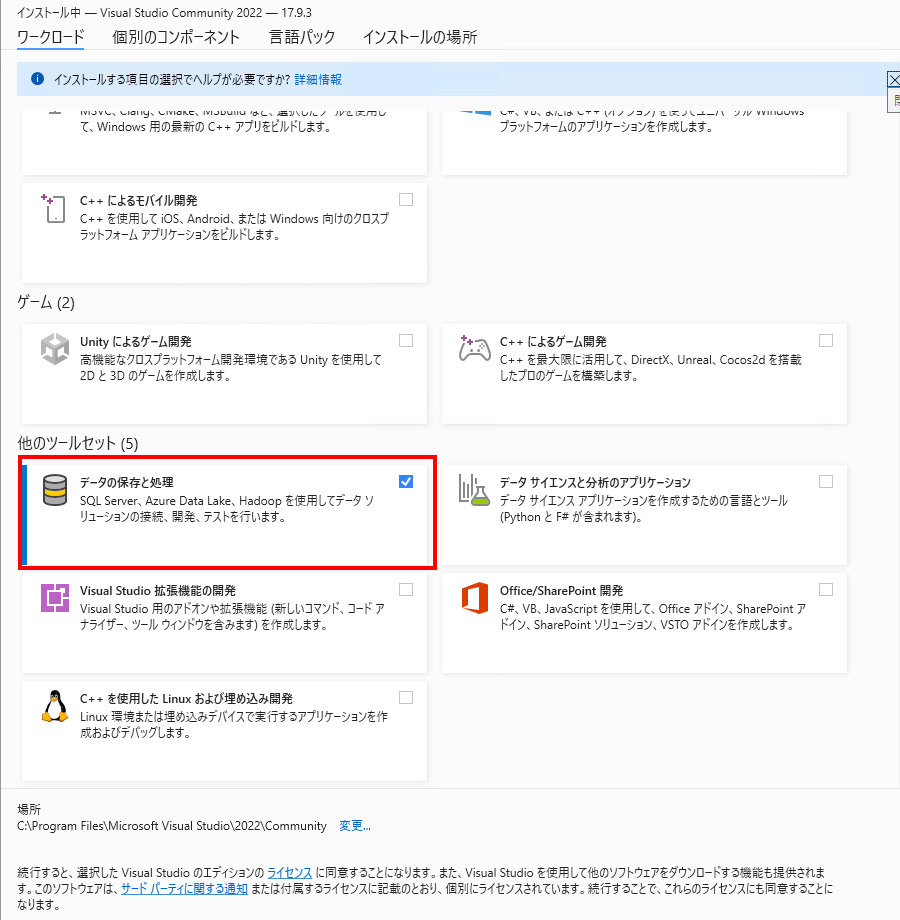
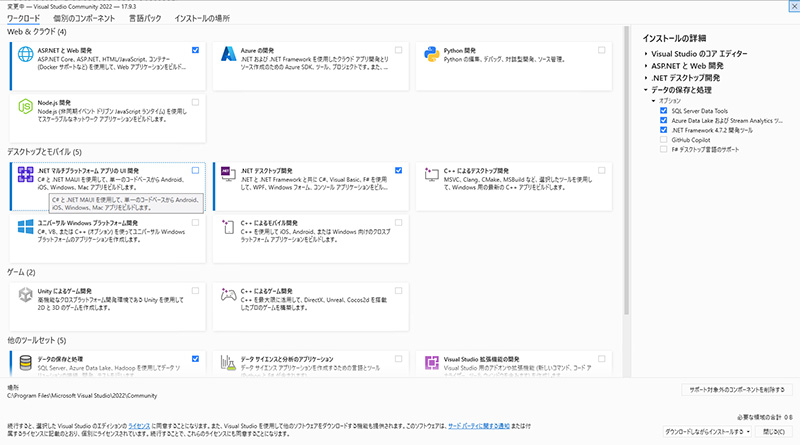
インストールする機能を選択するための画面が表示されます。ワークロードタブには、開発可能なアプリの種類がカテゴリごとに分類されて表示されます。
開発に必要な項目にチェックを入れてインストールします。ここでは、一般的に使用される以下の項目にチェックします。
- デスクトップとモバイル
- ユニバーサルWindowsプラットフォーム開発
- .NETデスクトップ開発
- Web&クラウド
- ASP.NETとWeb開発
- 他のツールセット
- データの保存と処理(データベースアクセスの場合は必要)
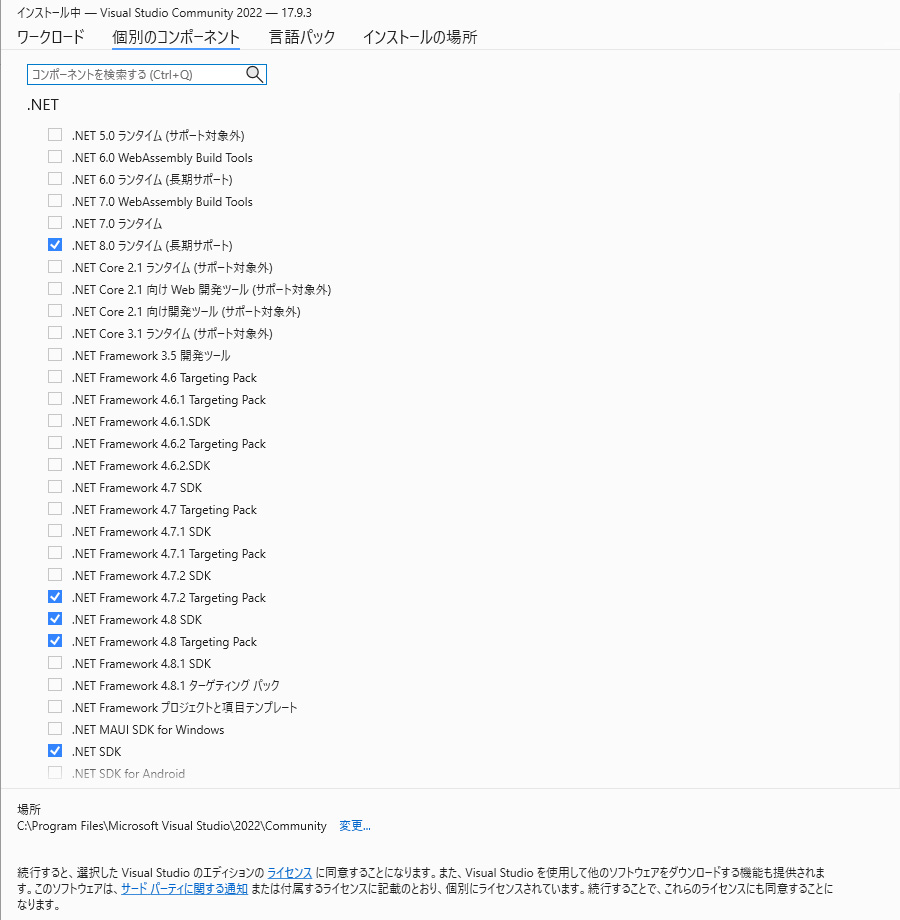
個別のコンポーネントタブをクリックすると、インストールされるコンポーネントが表示されます。ワークロードでチェックを入れた項目に応じてコンポーネントが選択されています。個別に追加したいコンポーネントがなければ、何もする必要がありません。
例えば、古いシステムをメンテナンスや開発する場合、以前の.NET Frameworkをインストールする必要があったりするケースがあります。そのようなときは、後から個別で追加したりします。
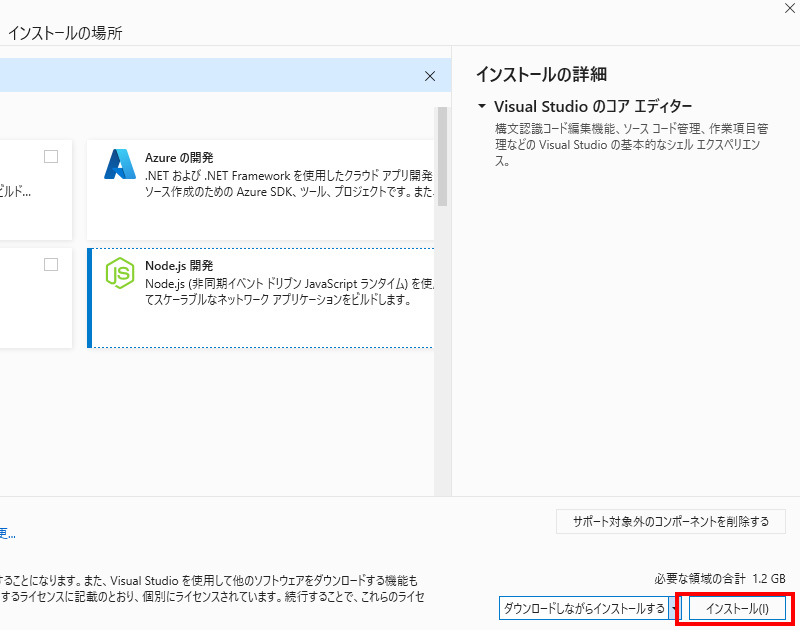
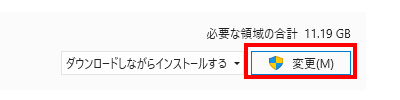
右下のインストールもしくは変更ボタンをクリックします。
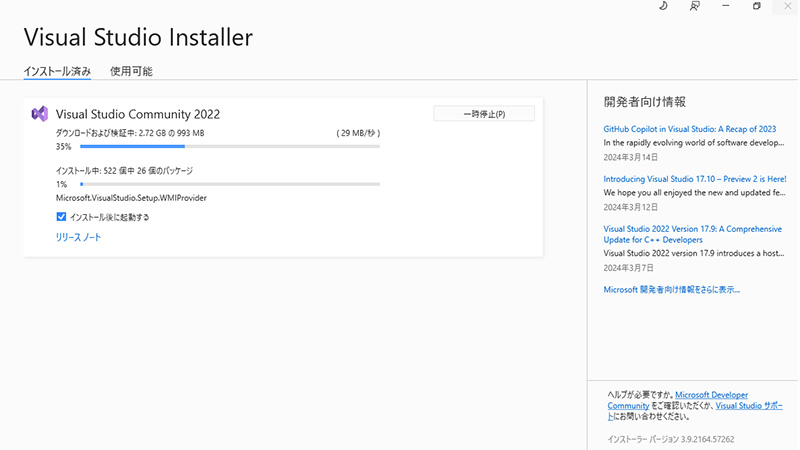
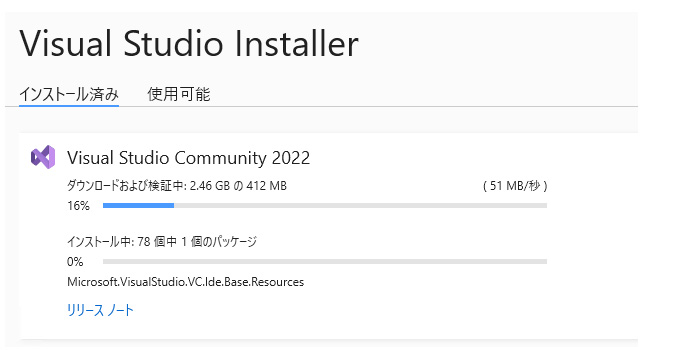
インストールの終了までは数分から十数分時間がかかります。その間、インストールの進行状況が表示されます。
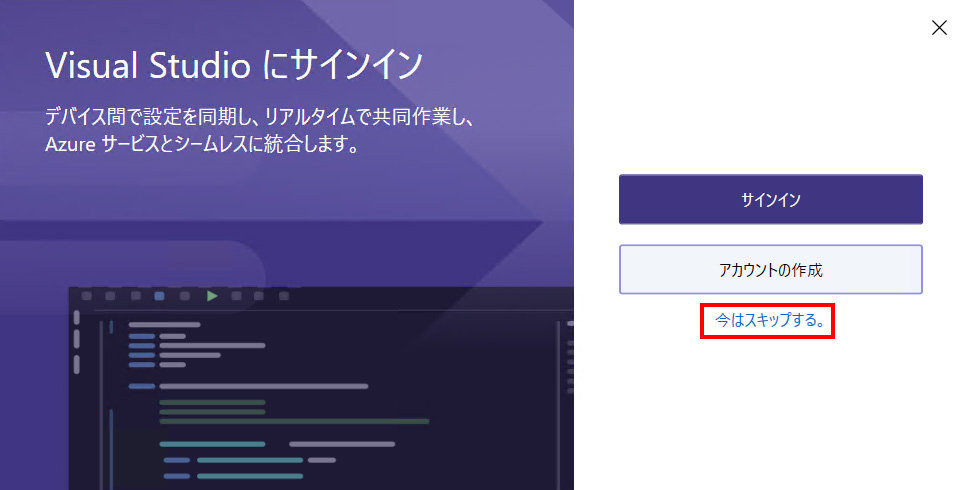
インストールが完了するとVisual Studioにサインインについては、今はスキップするを選択します。
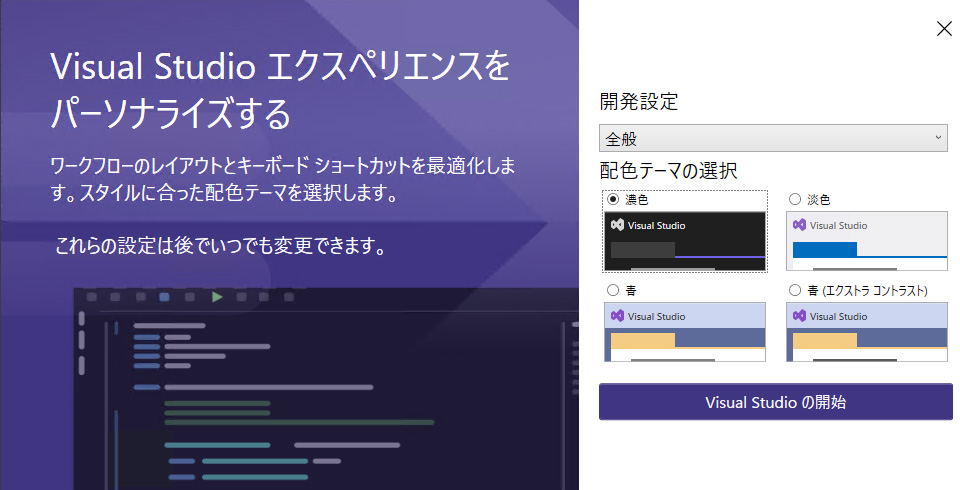
開発設定について聞かれてきますので、全般の配色テーマを濃色(ダークモード)にします。「Visual Studioの開始」ボタンをクリックします。
インストール作業は完了です。
後から個別のコンポーネントを追加及び変更する場合
インストール後に必要なコンポーネントがインストールされていない、もしくは、新規開発で必要になった等。後々、開発環境に変更が生じた場合、新規にワークロードや個別のコンポーネントを追加することができます。
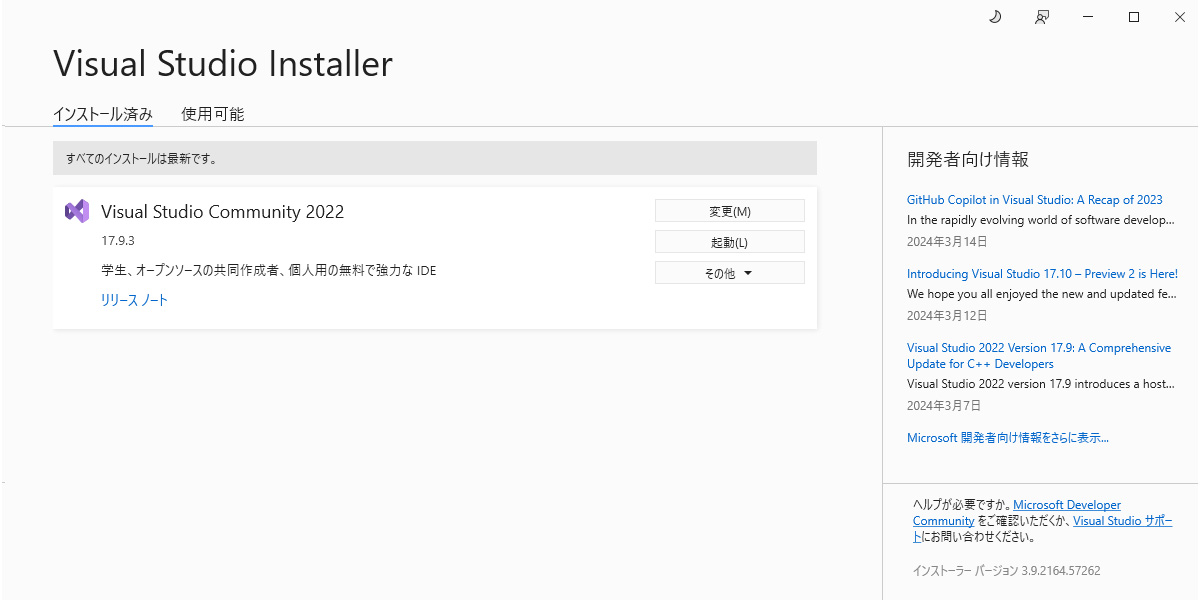
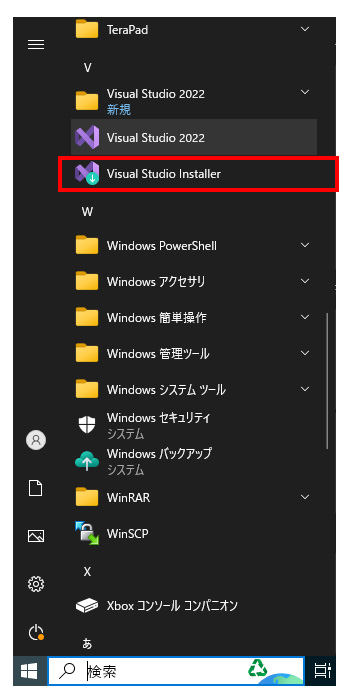
Windowsマークをクリックして、Visual Studio Installerをクリックします。
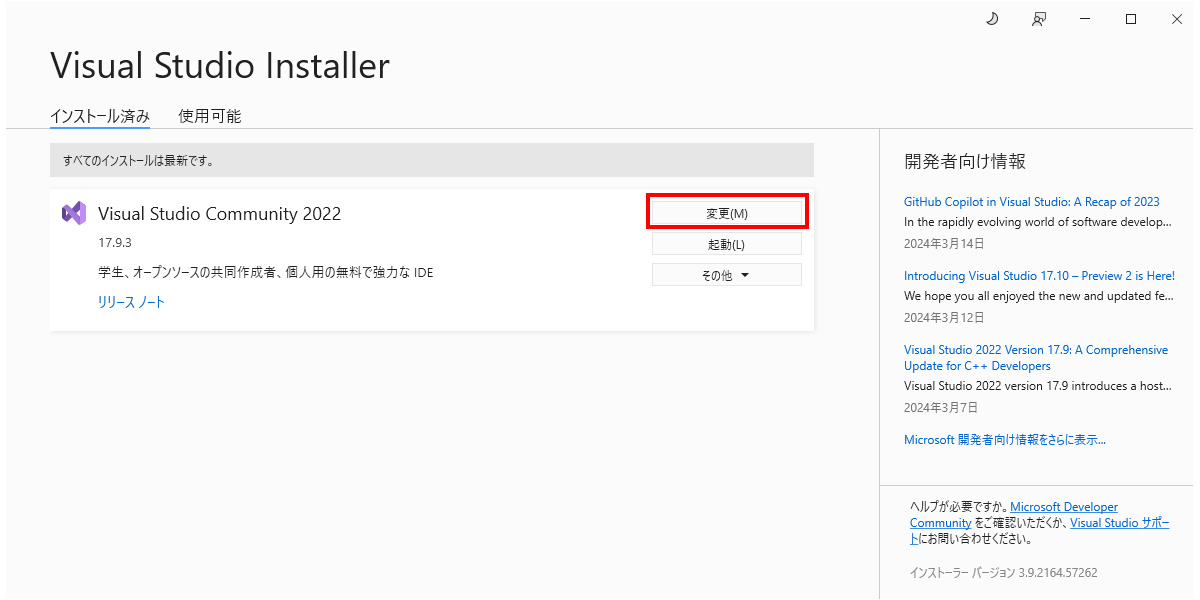
Visual Studio Community 2022の変更ボタンをクリックします。
ワークロードや個別のコンポーネントに必要な項目を追加することができます。
必要な項目にチェックしたら、右下の変更ボタンをクリックします。
インストールが始まります
以下の画面が表示されればインストールは終了です。