
一般的なゲームではタイトル画面があり、ゲームオーバー画面があったり複数のステージがあったりと複数の画面で構成されています。ここでは、複数のシーンを作る方法とシーンを切り替える方法について解説します。
複数シーンを作成する方法
1つのプロジェクト内に複数作ることができます。それぞれ別々のゲームオブジェクトを使って作れるので全く異なるシーンとなります。
前提
プロジェクトとシーンが1つがある状態で解説します。
手順
- 現在のシーンにゲームオブジェクトを配置
- 新しいシーンを作成しゲームオブジェクトを配置
- シーンの保存
- 「Build Settings」に使うシーンを追加
- マウスイベントのスクリプトファイルを作成
- シーン1のオブジェクトにアタッチ
- 動作確認
複数シーンを作成
ここでは、1つ目のシーンに立方体を作成します。シーンが変わったことがわかれば良いので、シーン1には立方体オブジェクトを配置。シーン2には球体オブジェクトを配置します。
シーン1にメニュー「GameObject」→「3D Object」→「Cube」を選択し立方体を作成します。
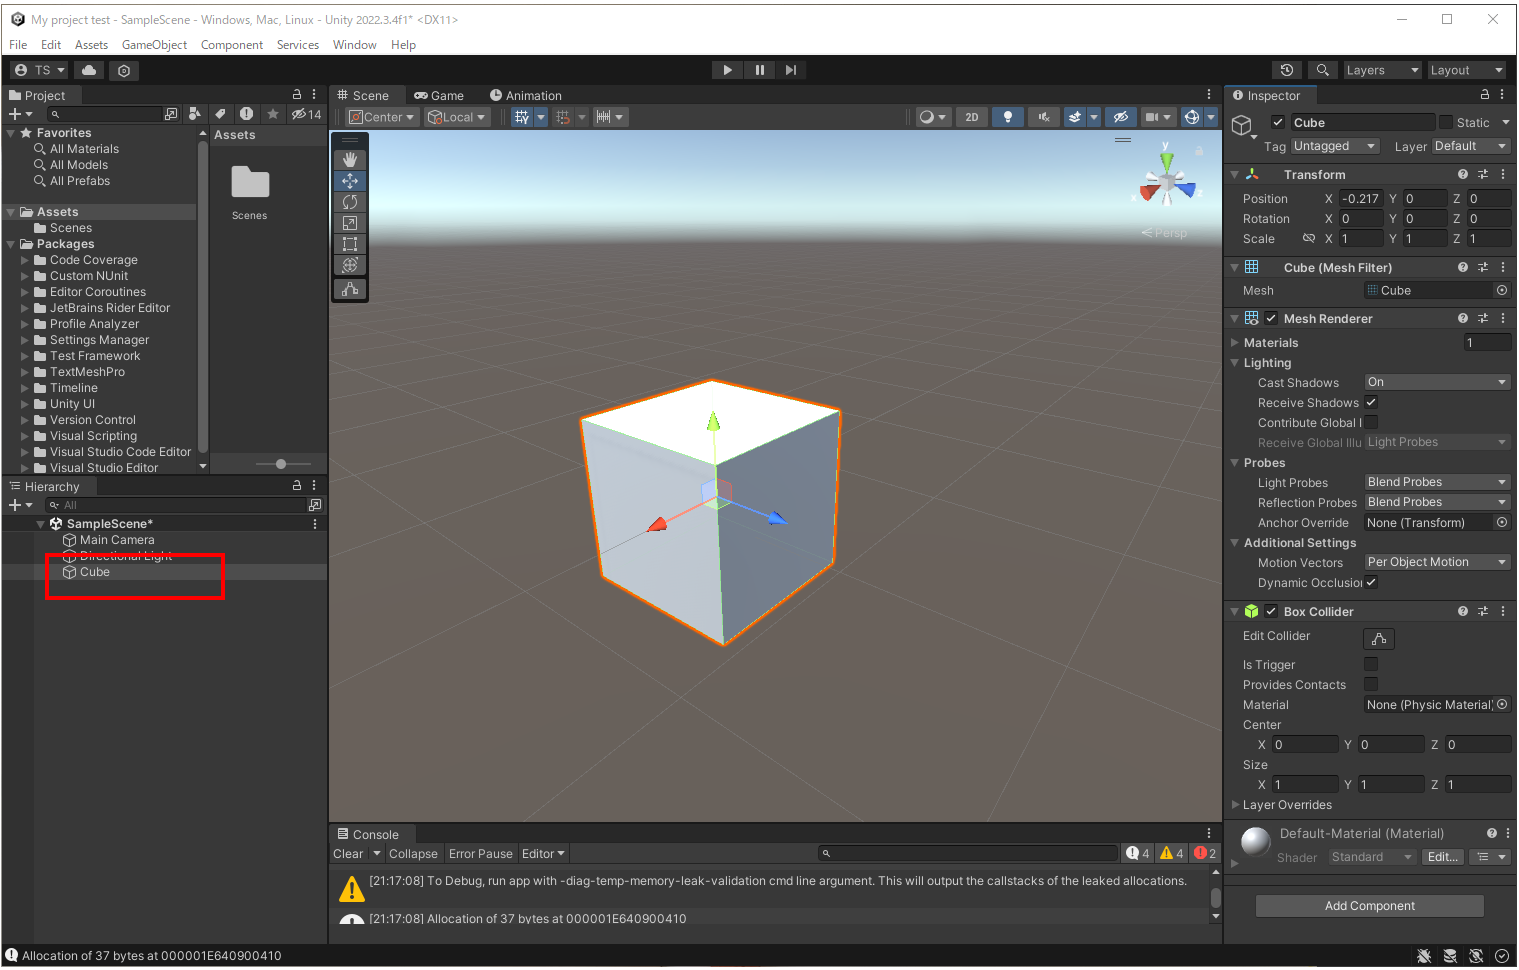
Cubeが作成されます。
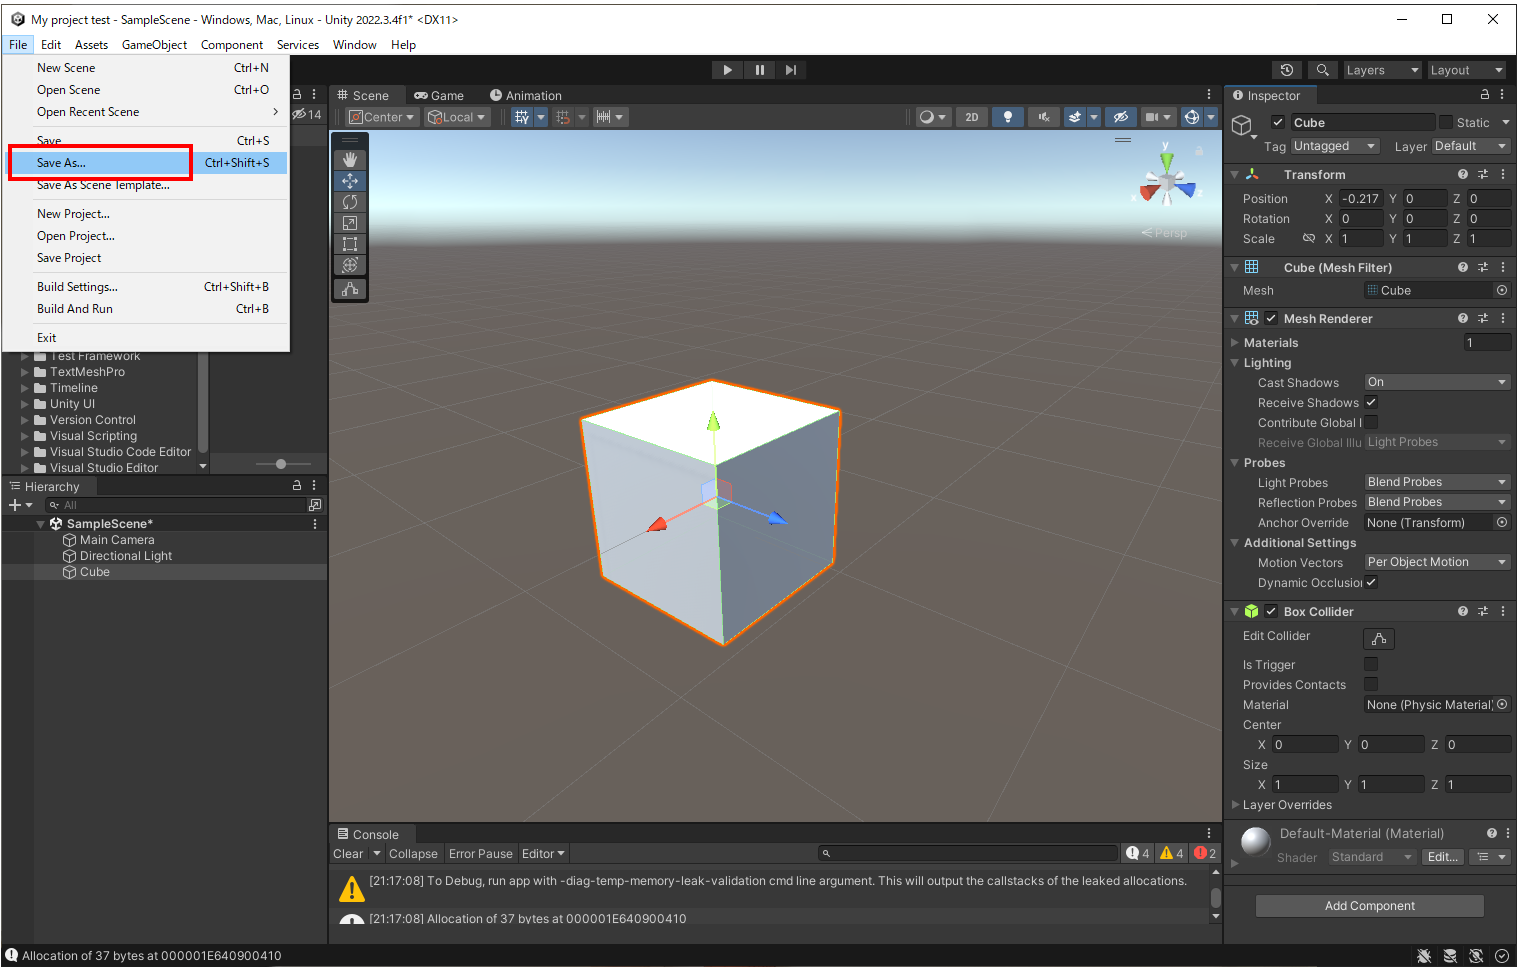
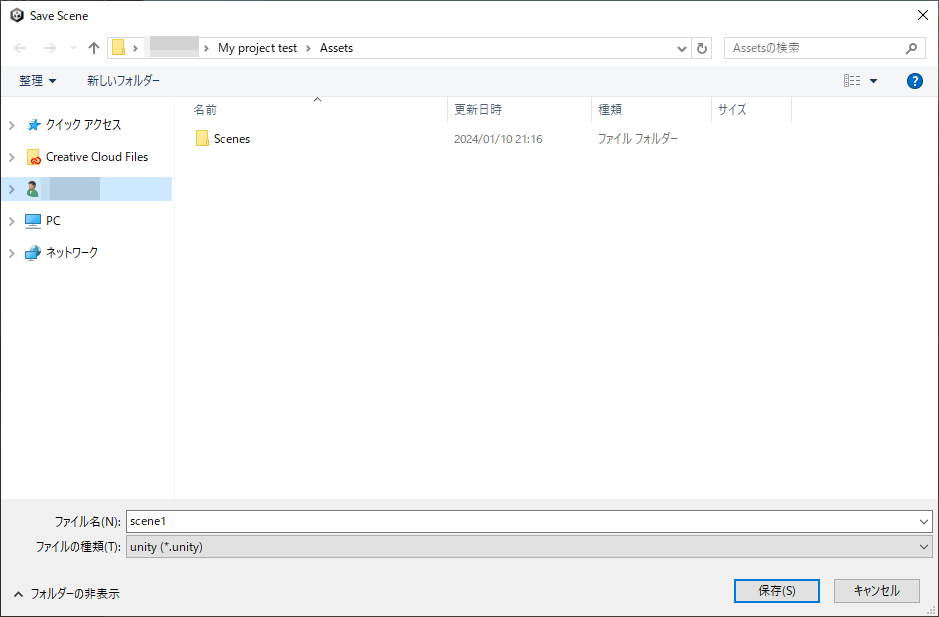
このシーンを保存します。メニューの「File」→「Save As…」を選択します。ファイル名は「scene1」とします。
シーン2を作成します。
メニューの「File」→「New Scene」を選択します。
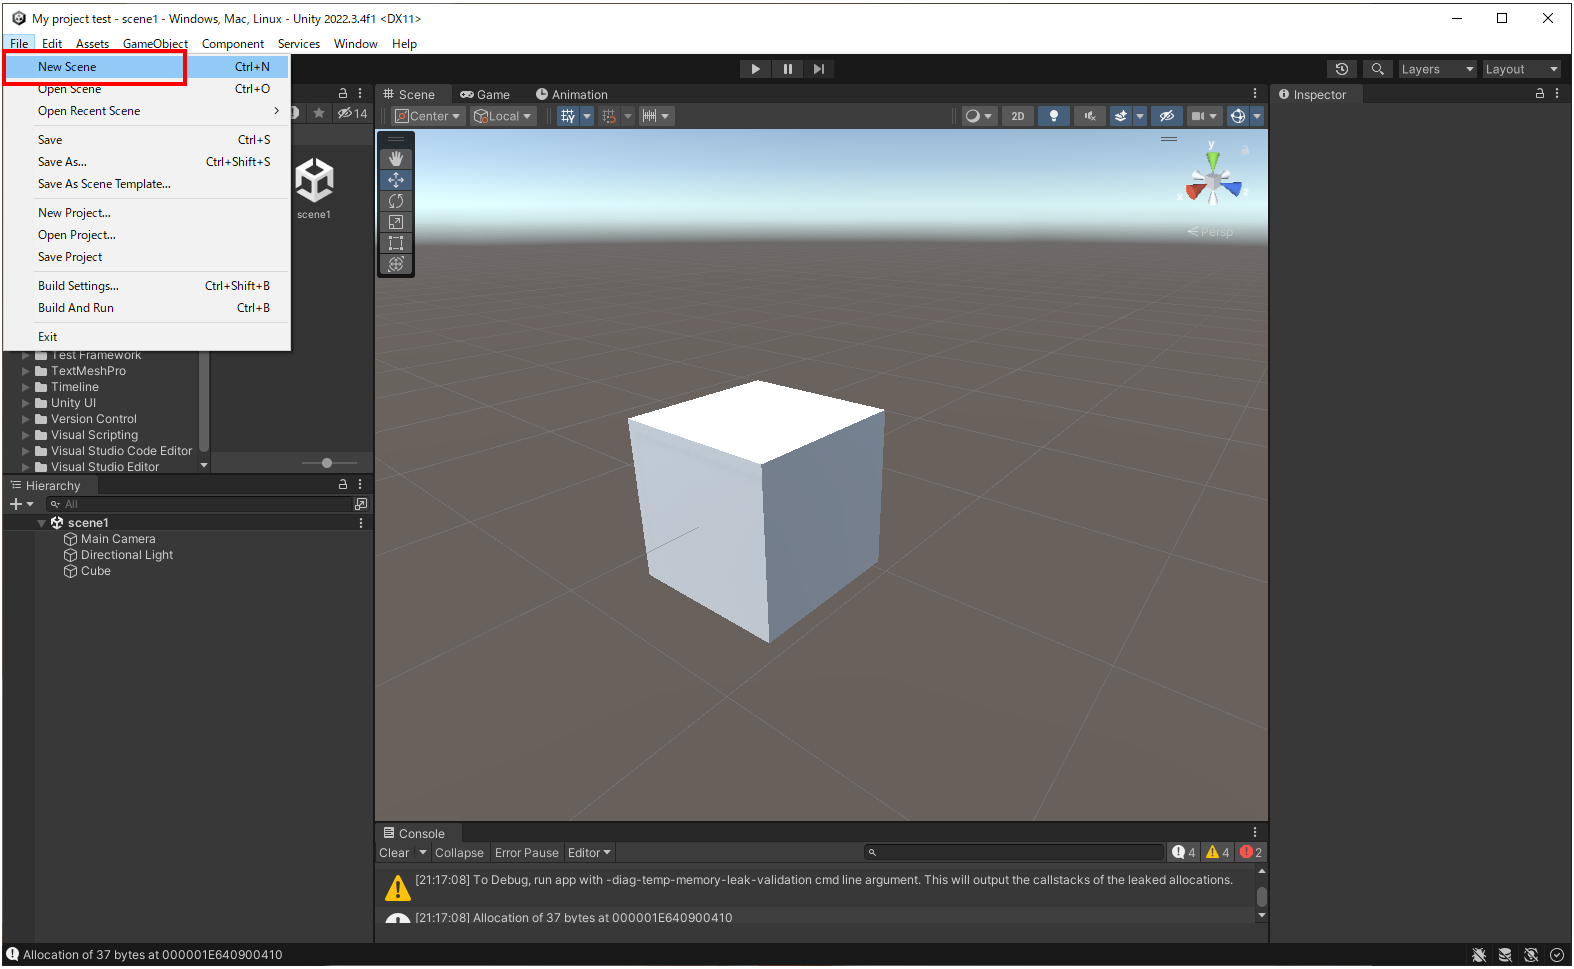
Basic(Built-in)を選択し「Create」ボタンをクリックします。
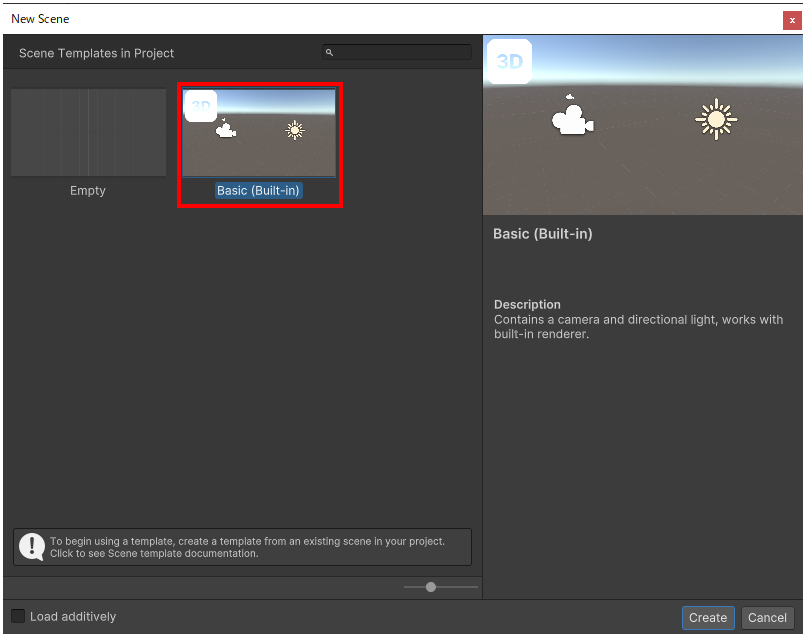
画面が初期化され、シーン1のボックスが無くなっていることがわかります。
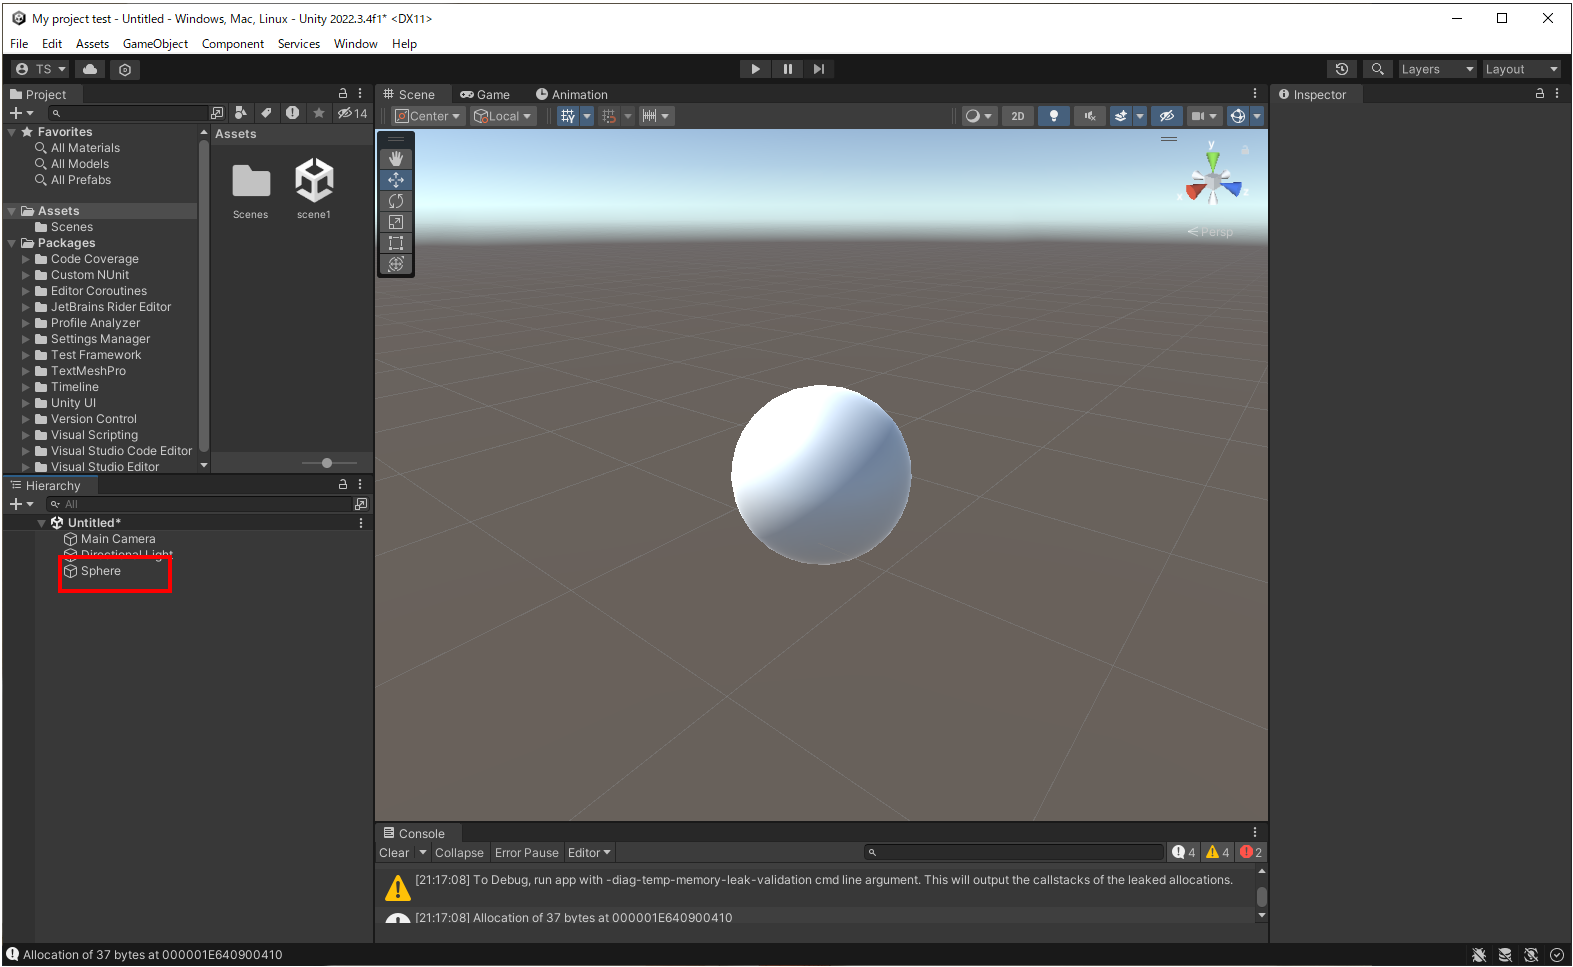
シーン2にメニュー「GameObject」→「3D Object」→「Sphere」を選択し球体を作成します。
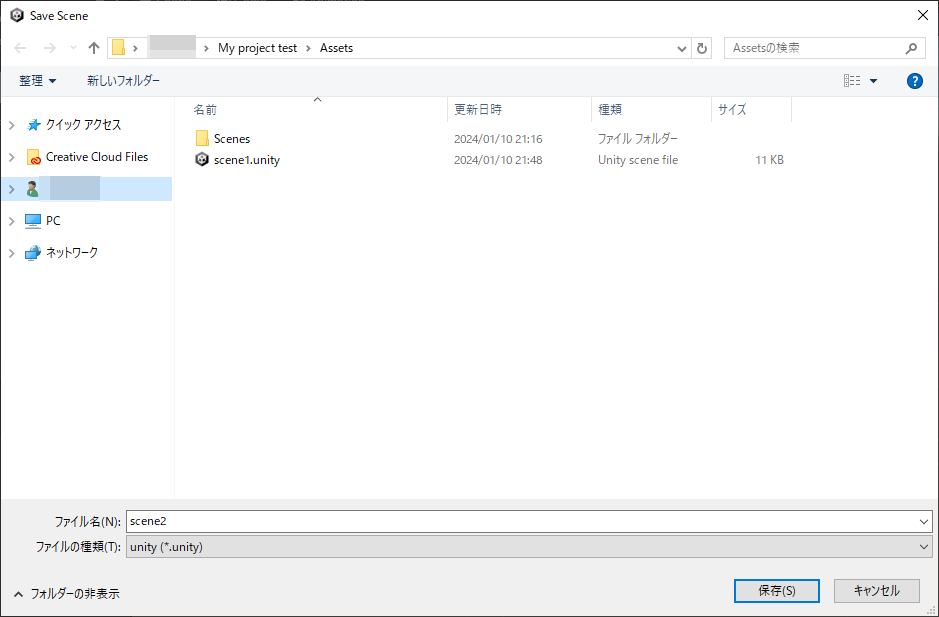
このシーンを保存します。メニューの「File」→「Save As…」を選択します。ファイル名は「scene2」とします。
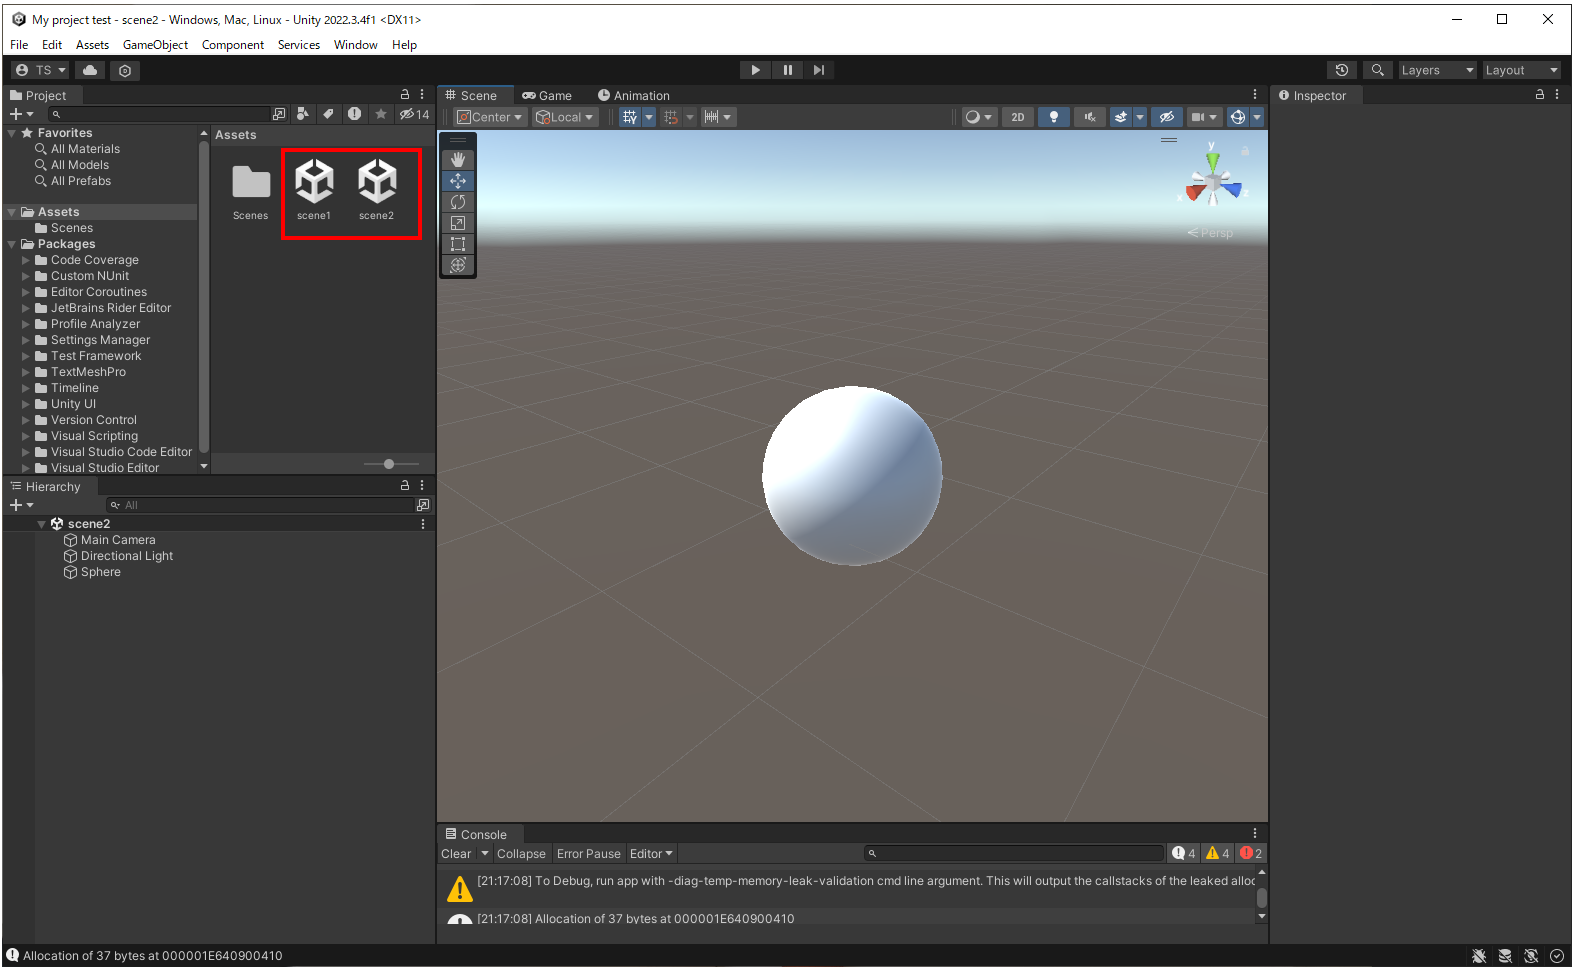
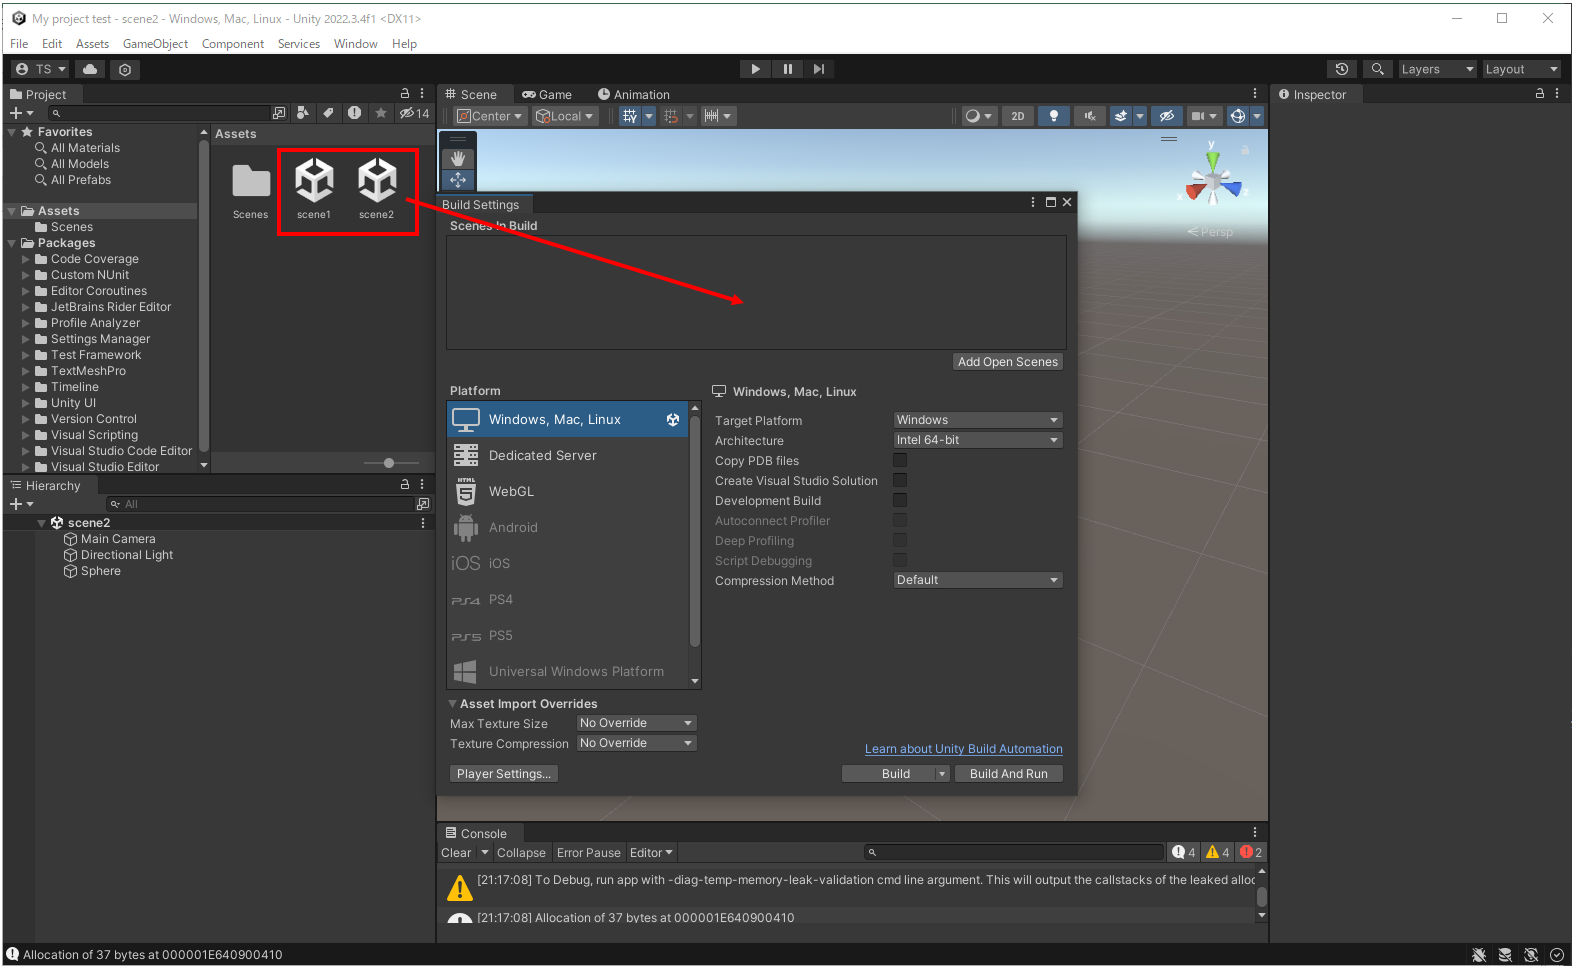
ProjectのAssetsに保存したシーン1とシーン2が表示されていることを確認します。これで、シーンが複数作成されました。
最後に
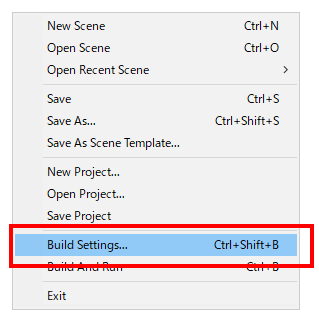
シーン1とシーン2をスクリプトで切り換えれるように「Build Settings」に設定します。メニューの「File」→「Build Settings…」を選択すると「Build Settings」ダイアログが表示されます。
使うシーンを「Scenes In Build」に登録します。「Build Settings」→「Scenes In Build」欄にドラッグアンドドロップします。「Scenes In Build」では上から順番に実行されていくので、「scene1」が上になるようにドラッグアンドドロップします。
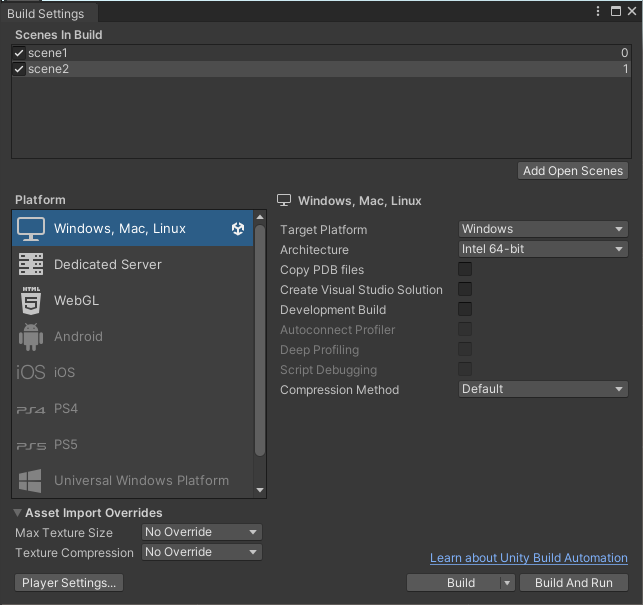
シーンの追加が終わったら、×をクリックして終了します。
これで複数のシーンを以下のコードで切り換えることができます。
using UnityEngine.SceneManagement;
SceneManager.LoadScene(<シーン名>);
クリックしたらシーンが切り換わる
マウスで立方体をクリックしたらシーンが切り換わるしくみをつくってみます。
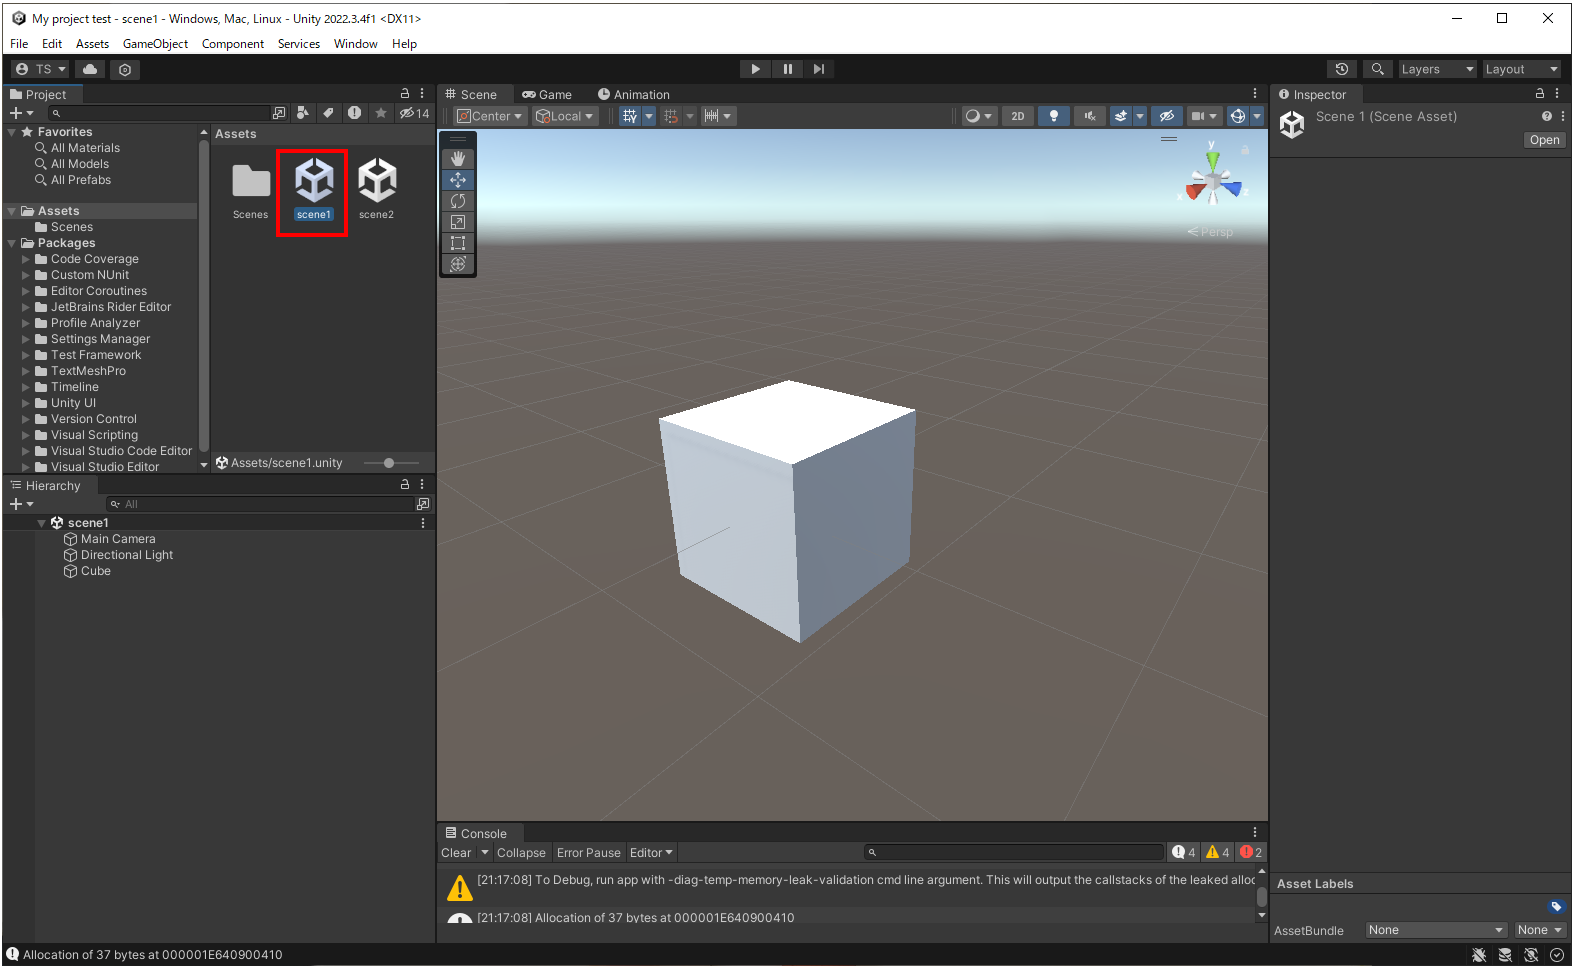
「Project」→「Assets」→「scene1」をダブルクリックして、シーンを切り替えます。
スクリプトの作成
「Project」のプラス(+)プルダウンメニューをクリック→「C# Script」をクリックします。
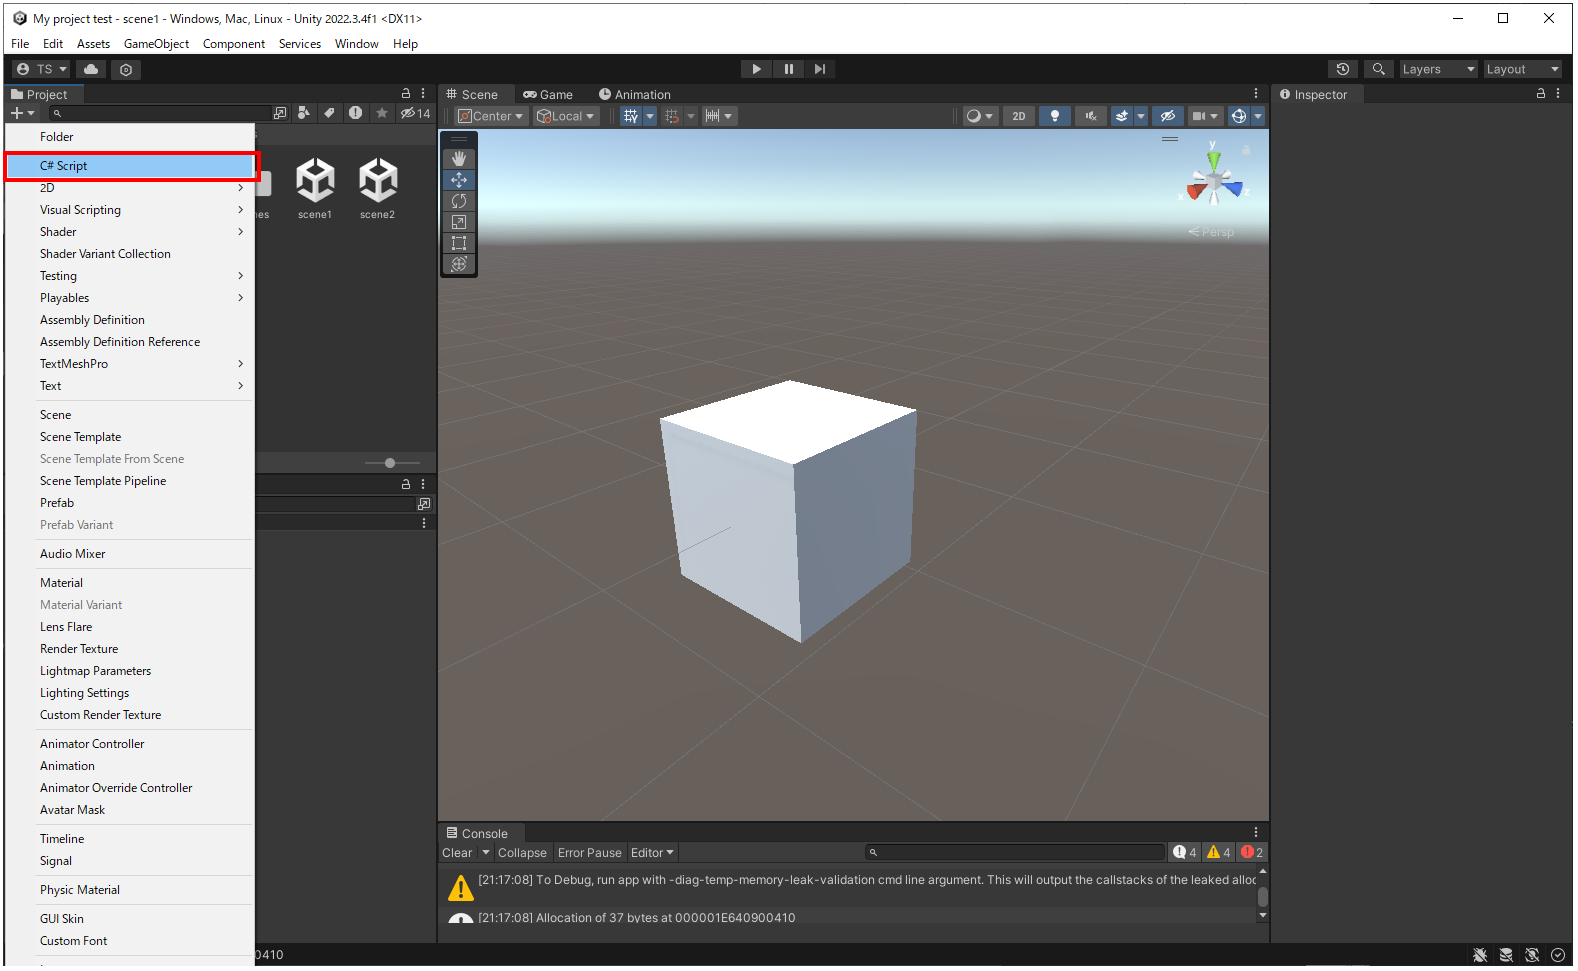
スクリプトファイル名を変更します。ここでは、「OnMouseDown_SwitchScene」とします。
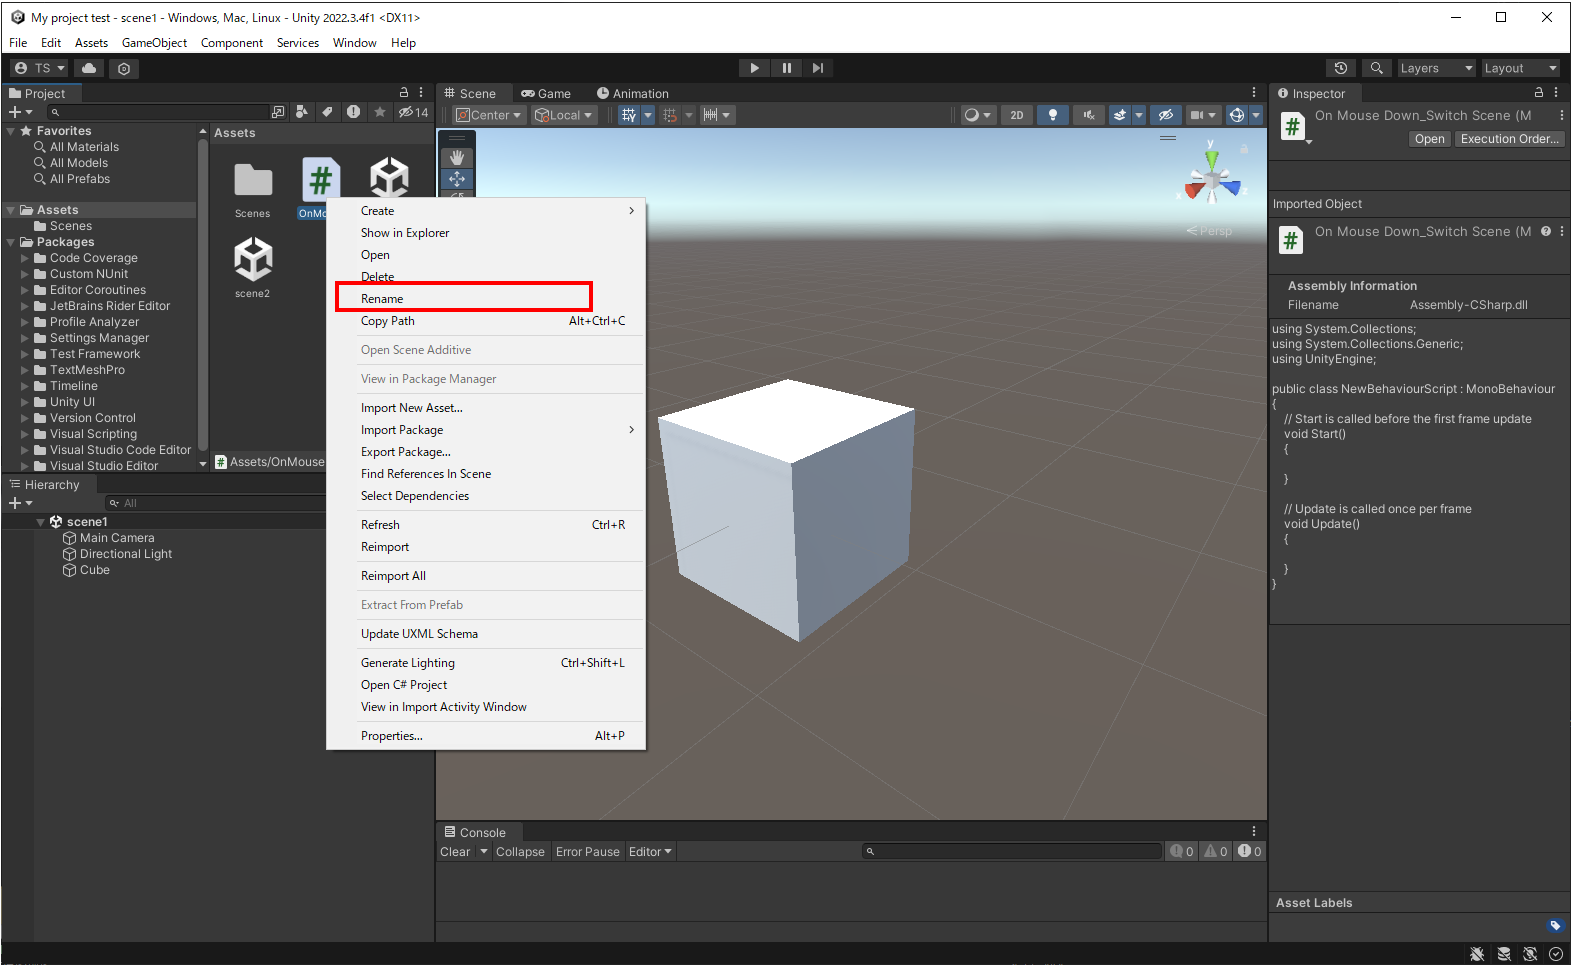
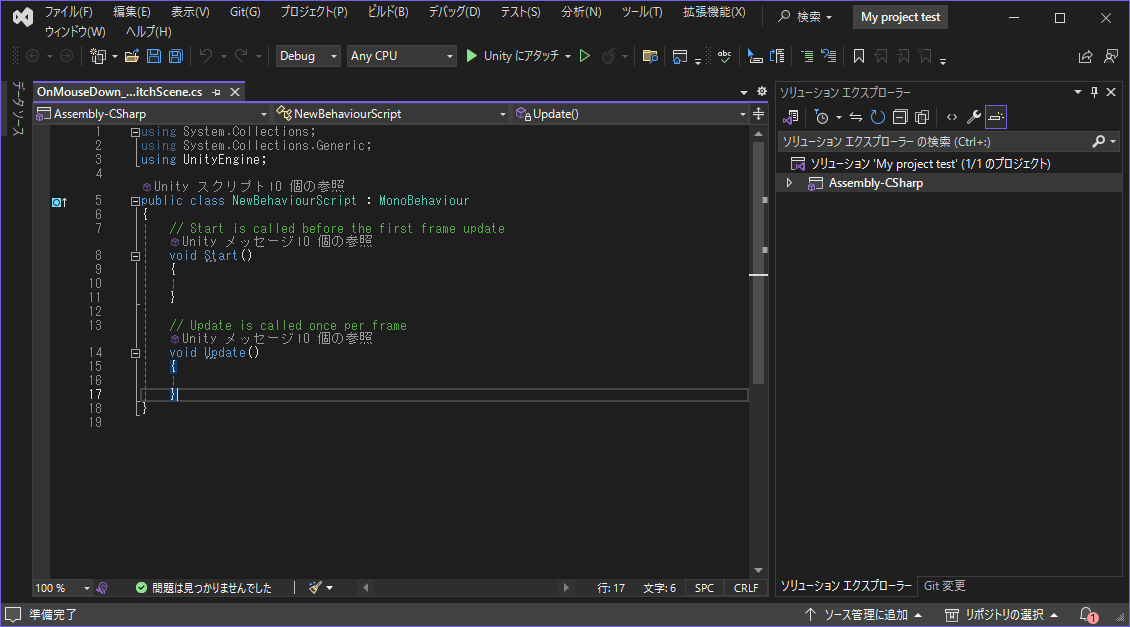
スクリプトファイルをダブルクリックします。
以下のコードを入力します。
using System.Collections;
using System.Collections.Generic;
using UnityEngine;
using UnityEngine.SceneManagement;

public class OnMouseDown_SwitchScene : MonoBehaviour
{

    public string sceneName = ""; //シーン名
    private void OnMouseDown()  //タッチ処理
    {

        if (sceneName!="")//シーン名があれば切り換える
        {
            SceneManager.LoadScene(sceneName);
        }
        else
        {
            //シーン名がなければ、次のシーンへ切り換える
            int nextIndex = SceneManager.GetActiveScene().buildIndex + 1;
            if (nextIndex < SceneManager.sceneCountInBuildSettings)
            {
                SceneManager.LoadScene(nextIndex);
            }
            else
            {
                //次のシーンがない場合は、最初のシーンに切り換える
                SceneManager.LoadScene(0);
            }
        }

    }
}
コード入力後に×で閉じます。
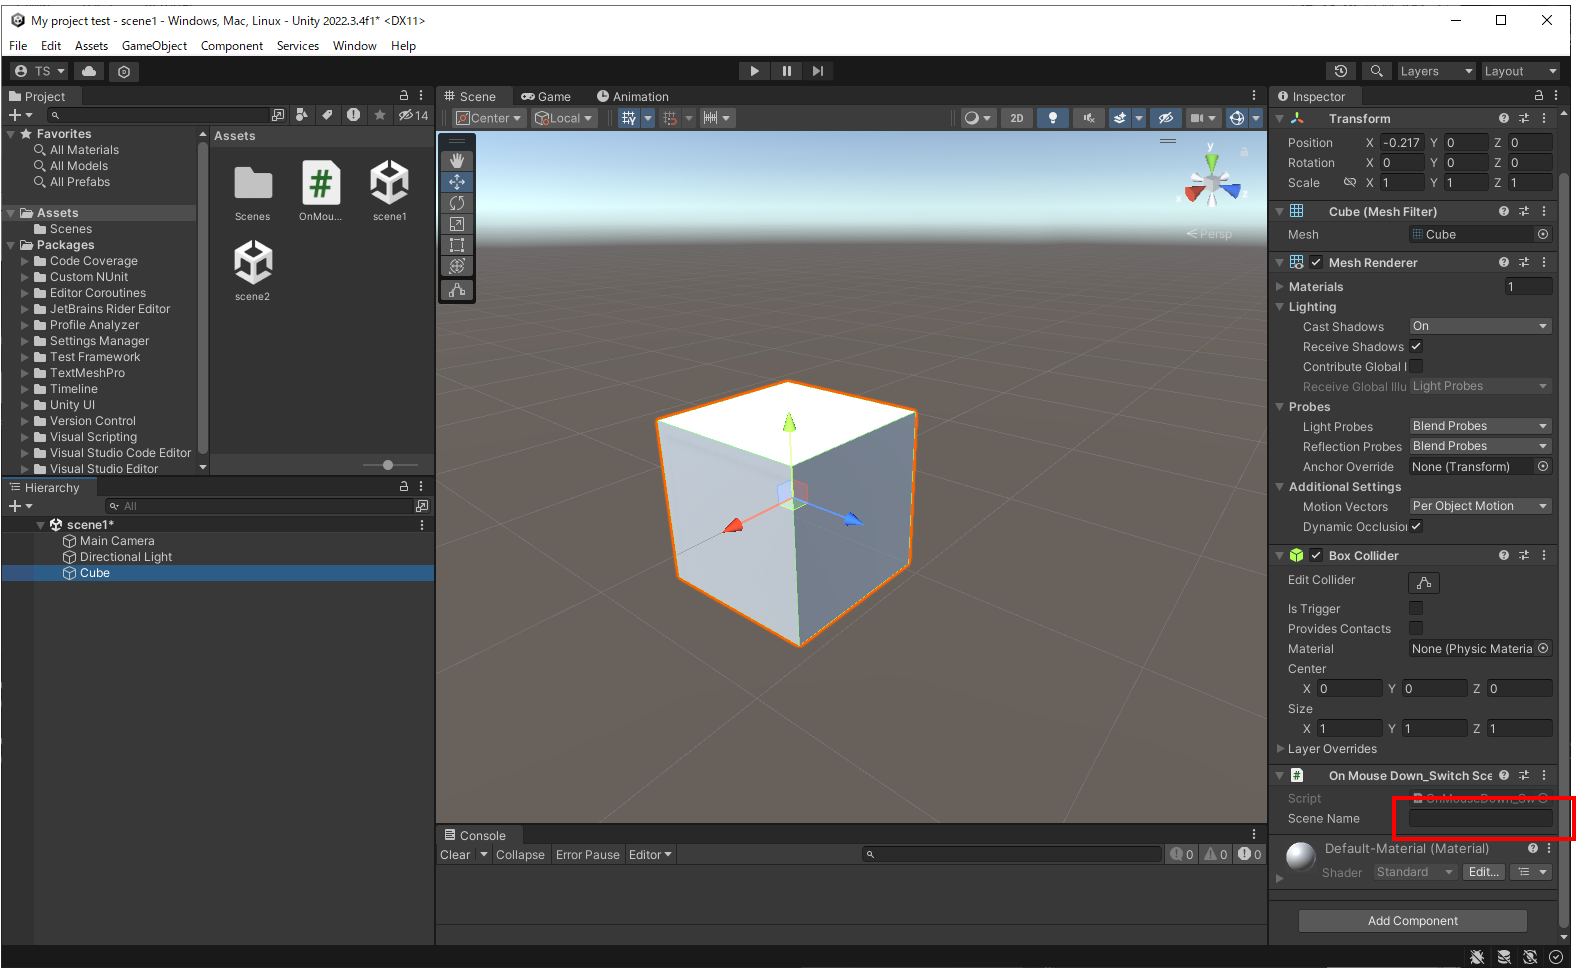
スクリプトファイルをCubeにドラッグアンドドロップしてアタッチします。
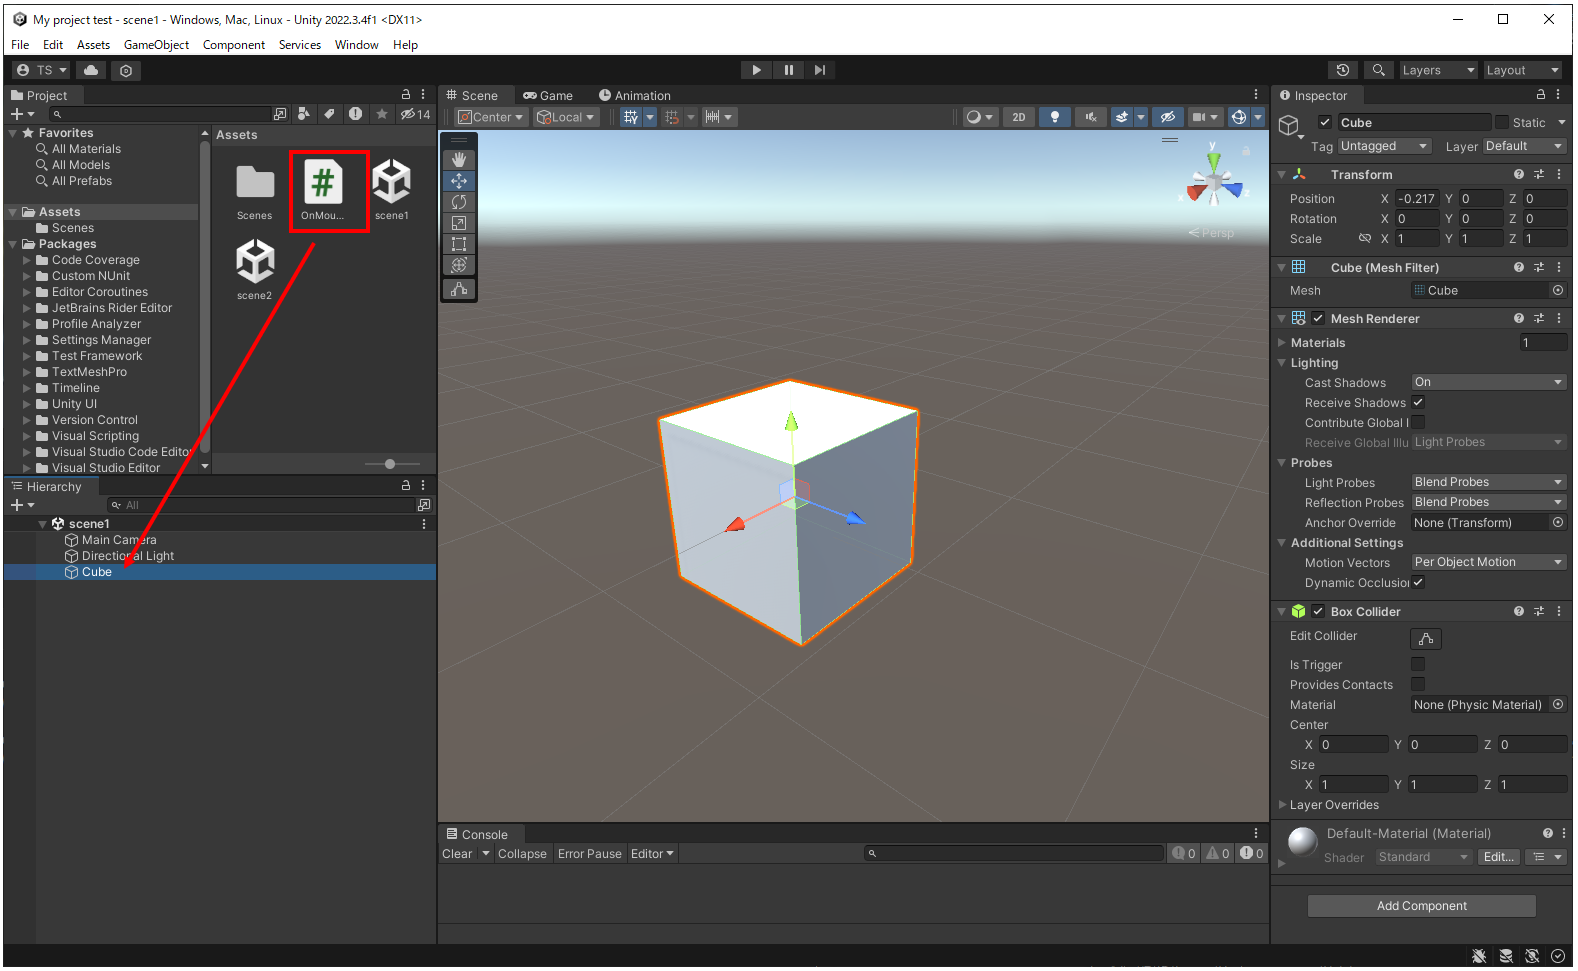
切り換わり先のシーン名を設定します。Cubeを選択し「インスペクタウィンドウ」の「Scene Name」に「scene2」と入力します。
「Play」ボタンを押して動作確認します。

コメント